As said. Though I would rather leave the spare as pool member and install the new drive as spare, to avoid another resilver.
@etorix I didn’t know this was an option. What are the steps for this?
I never had to actually perform the procedure. I suppose you “replace” the removed drive with the spare which has kicked in, and add the new drive as spare in Pool Manager.
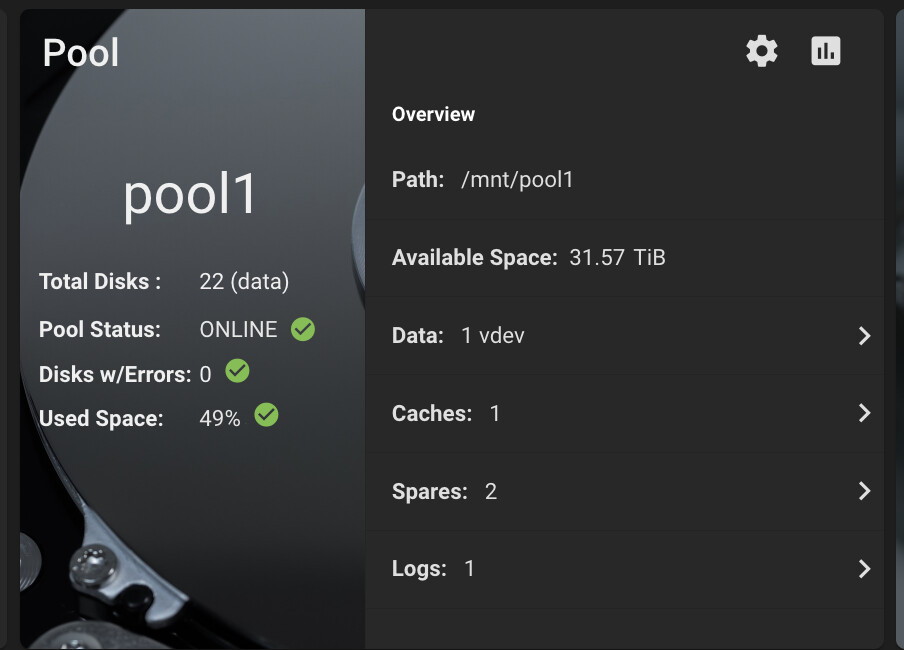
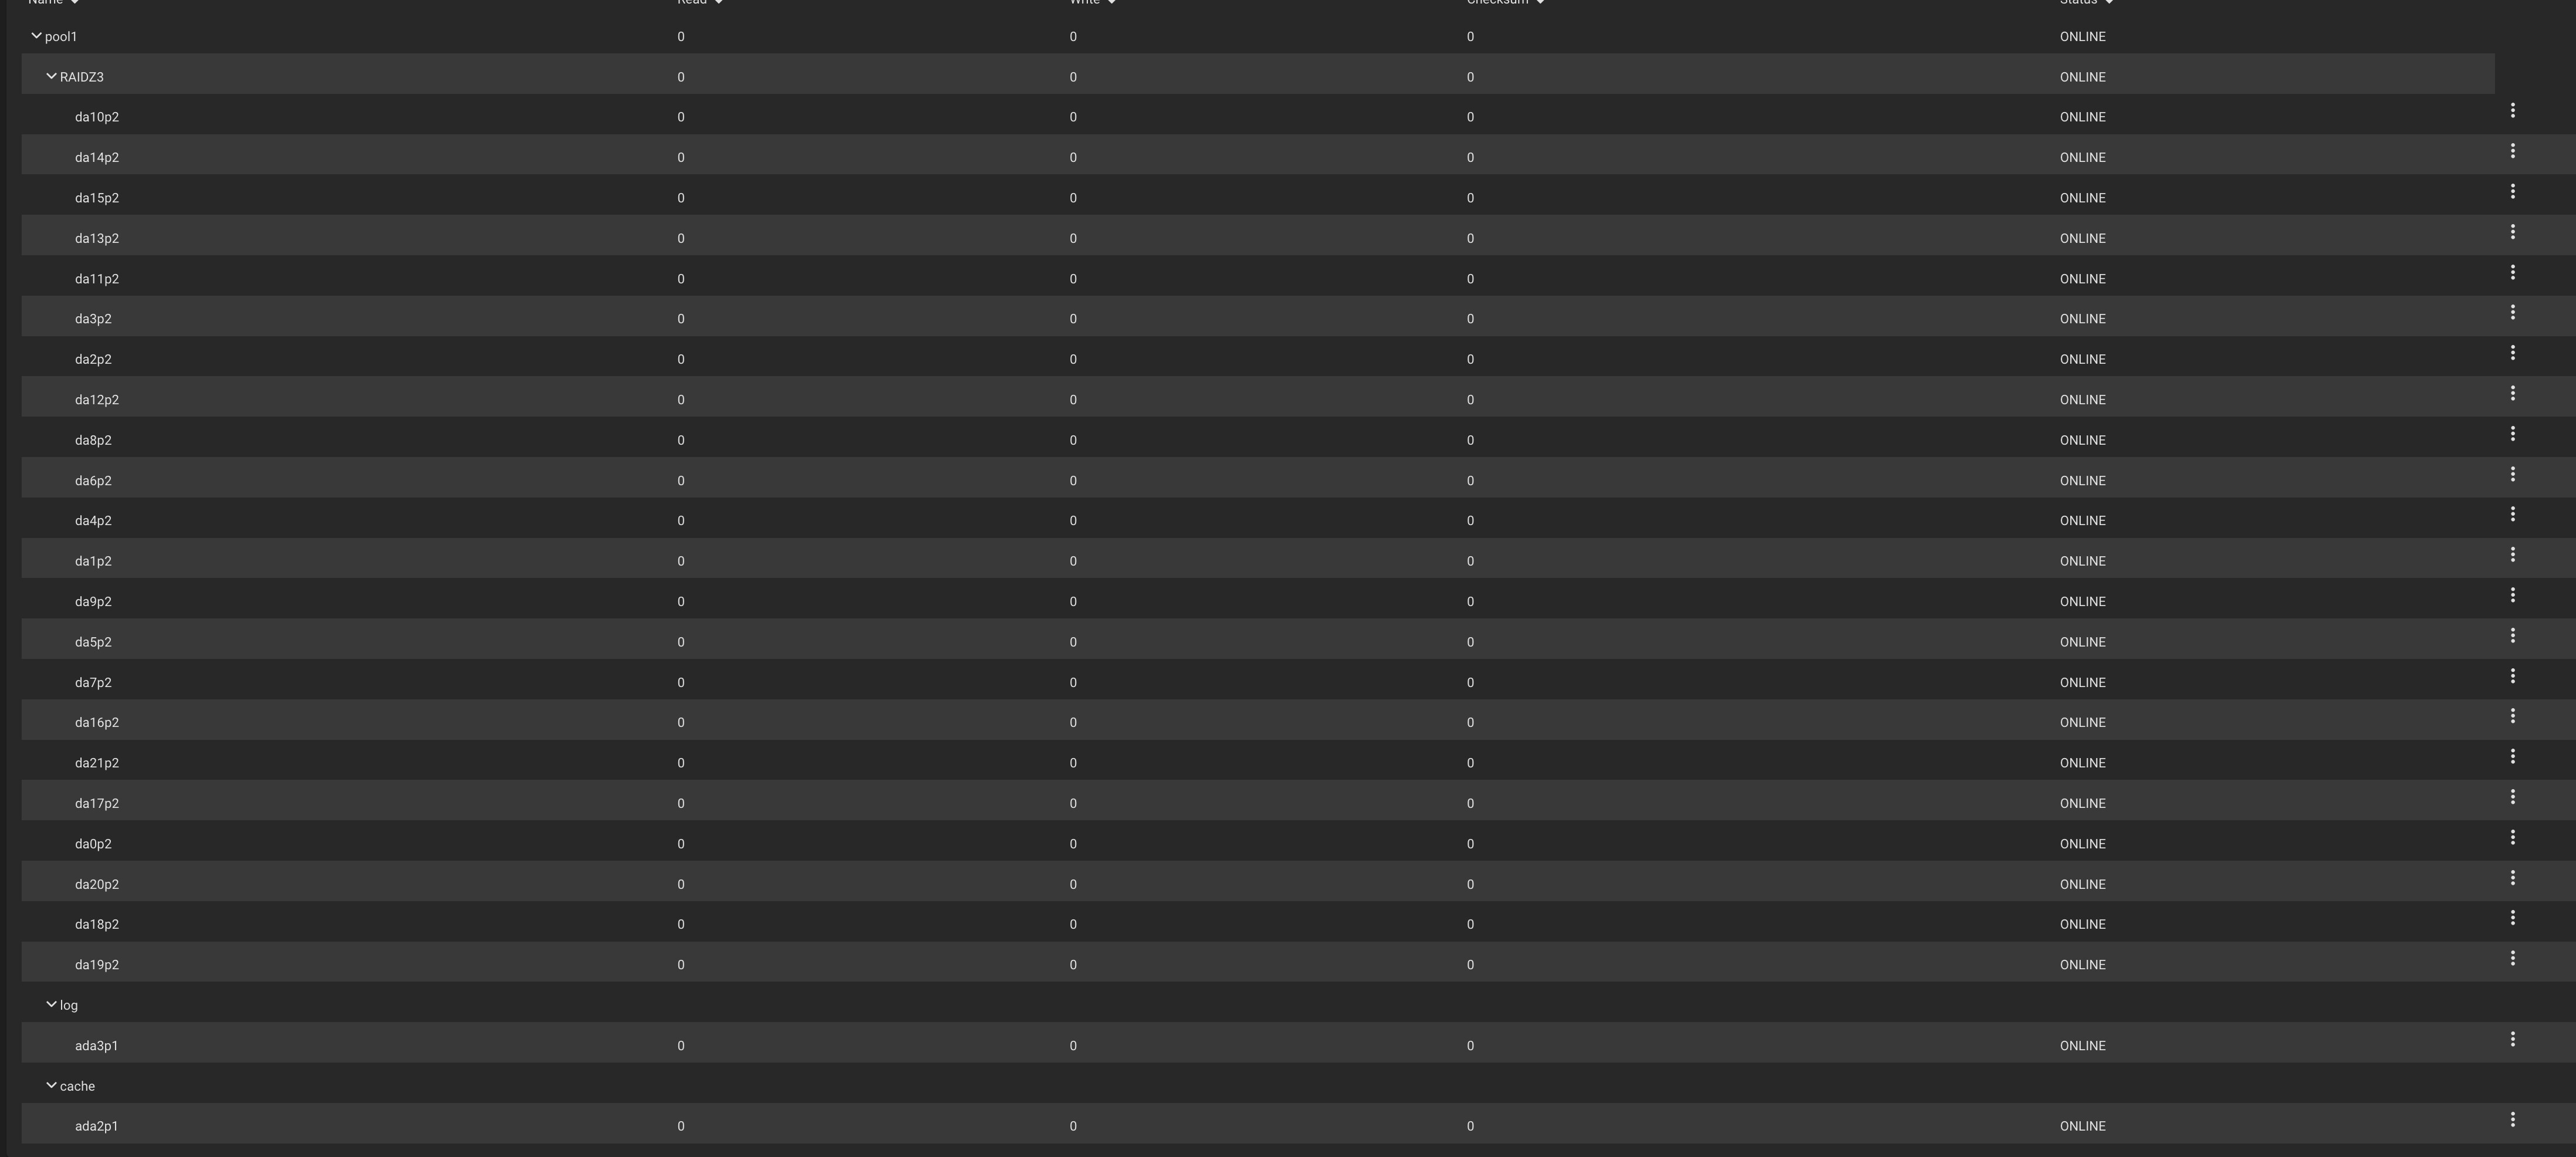
Thanks for quickly getting back to me! Appreciated. I cant see the old drive name in the pool status. (see screenshot below) it should be da21, put there is none any longer mentioned with this name. And yes, if we can add it as spare without resilvering I would also prefer this. ![]()
also strange that there is a different drive called da21 in the disk list:

daXX labels can (and often do) reshuffle at each boot, so track drives by serial number or gptid.
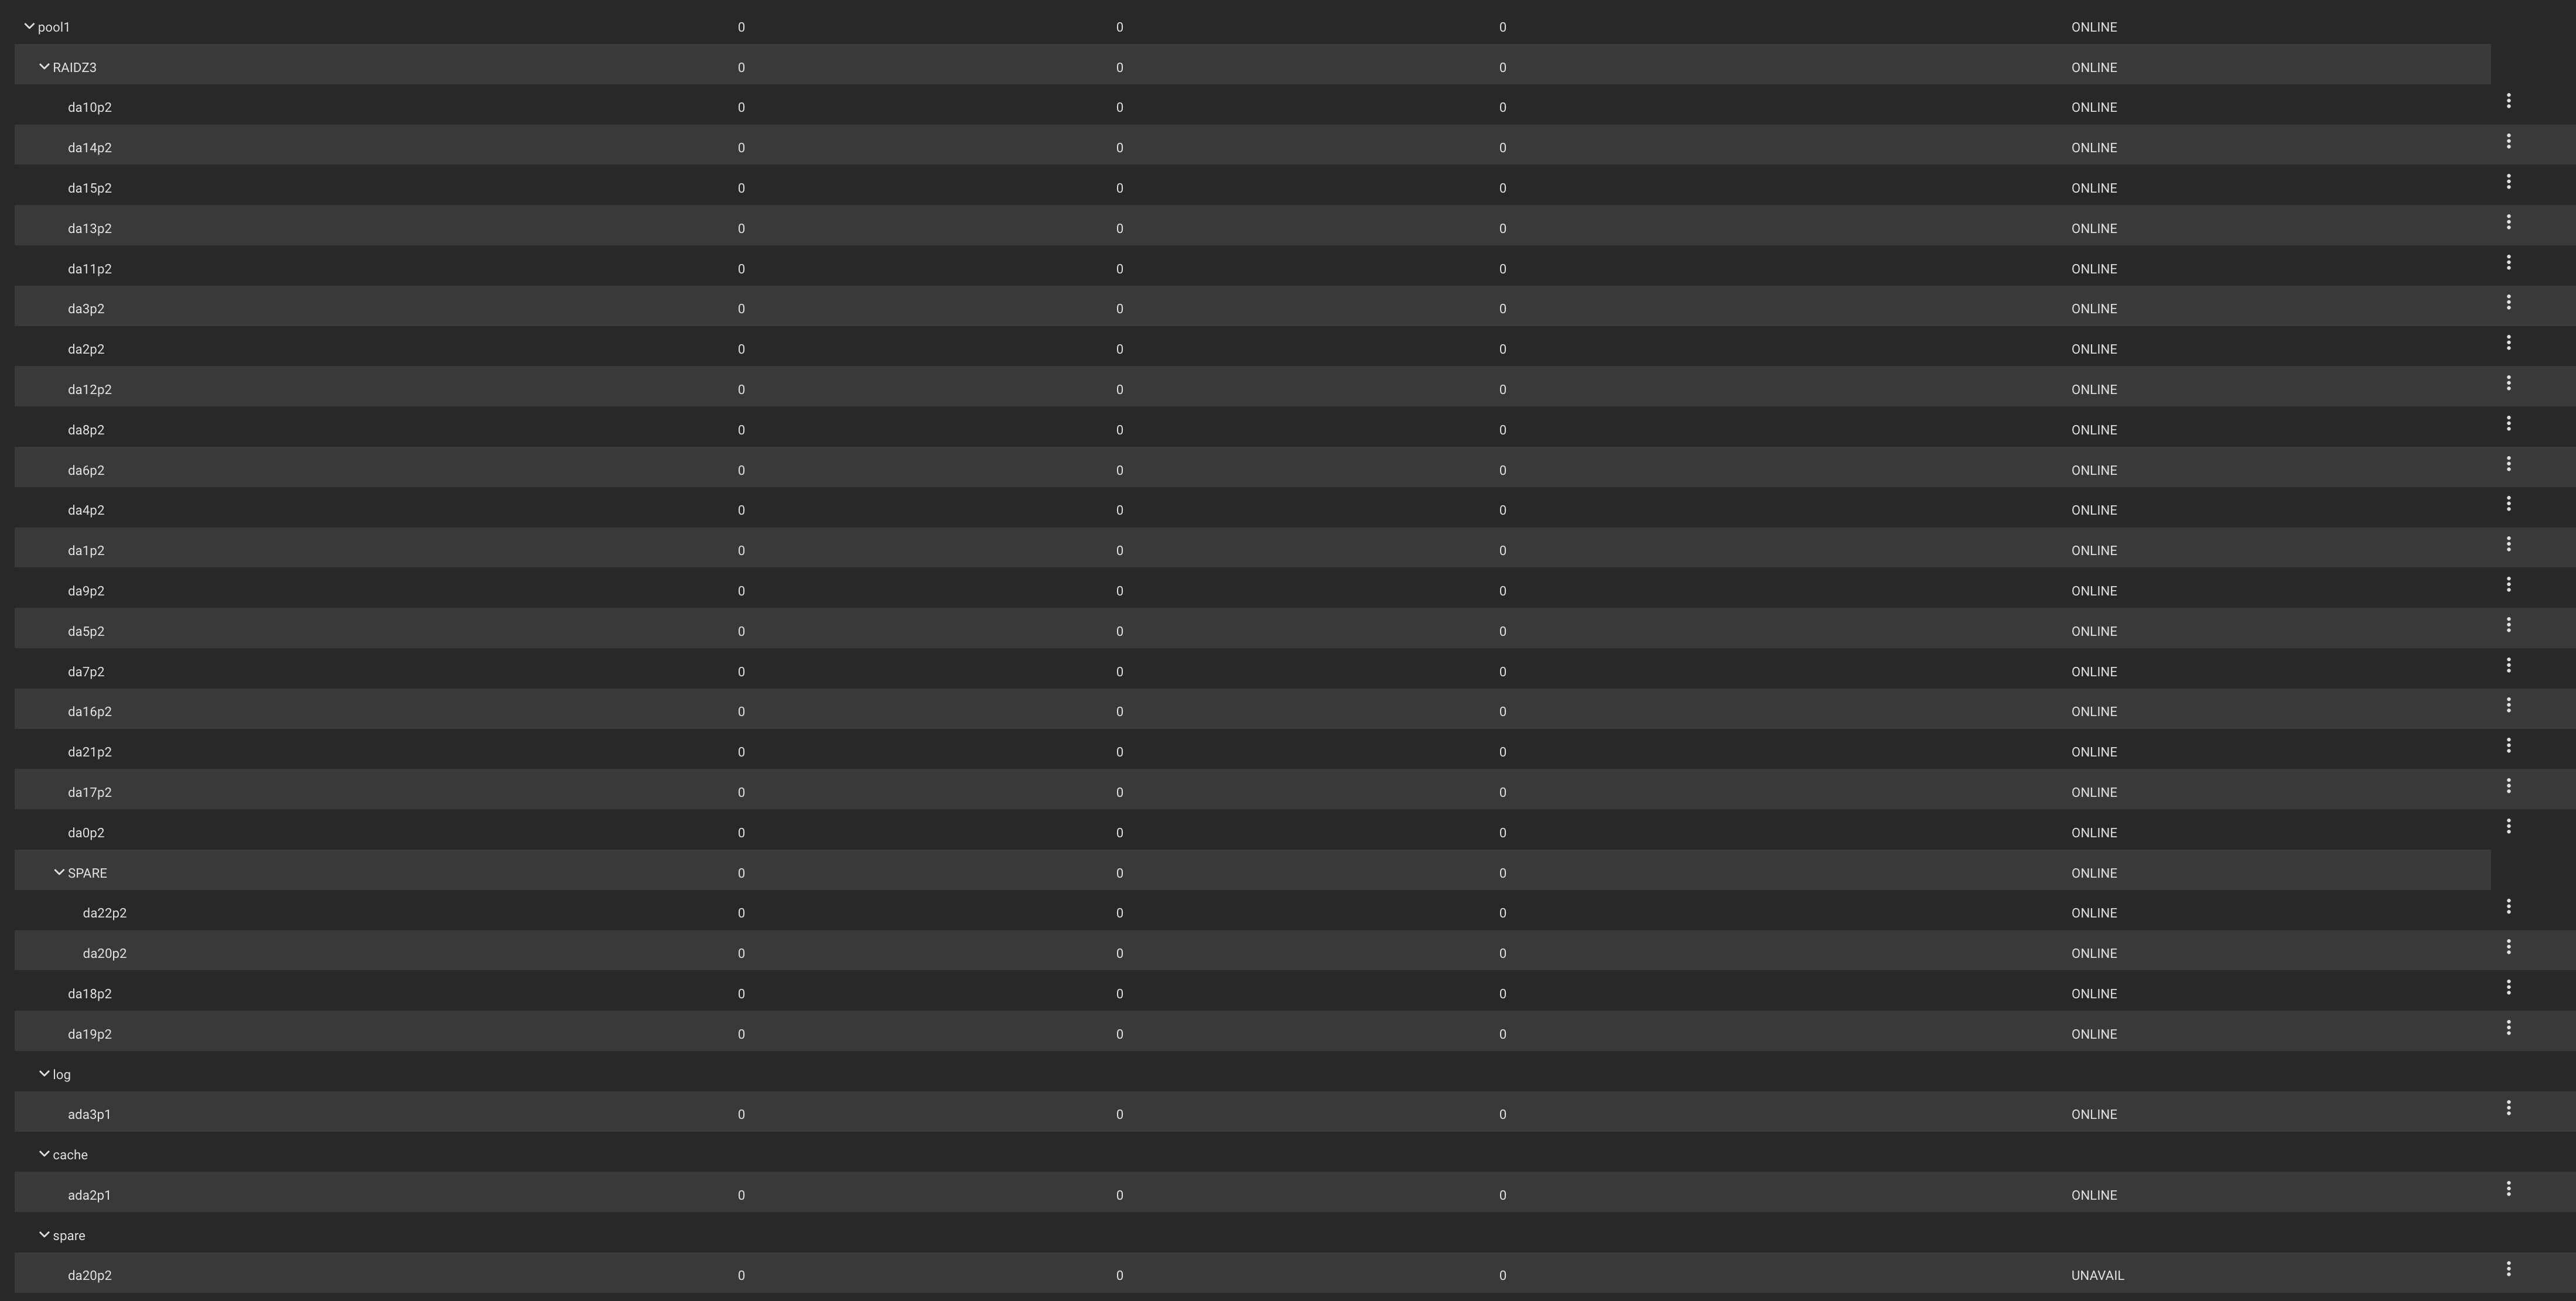
As I see you only have to take a decision about which drive to detach under “SPARE” and you’re back to a normal looking pool. (But with a vdev that is way too wide for comfort.)
Hi, thanks for clearing this up! I do wonder how I do this currently in this situation also as there is a SPARE drive but its UNAVAIL. Could you please suggest the steps you would take. I dont mind which two drives become spare again.
I also like to point out something odd maybe? that it says I have 22 drives but I should have 24 (including 2 spares) in the pool.
The “22 (data)” means you have 22 disks in the data vdev. It does not count spares/cache/log.
The spare shows “unavailable” because it is unavailable as a spare. It is currently in use. Once you replace the failed disk and the resilver is complete, it will become “available” again.
Pick one of the current da20/da22 and “detach” from the (…) menu.
It’s all in the docs.
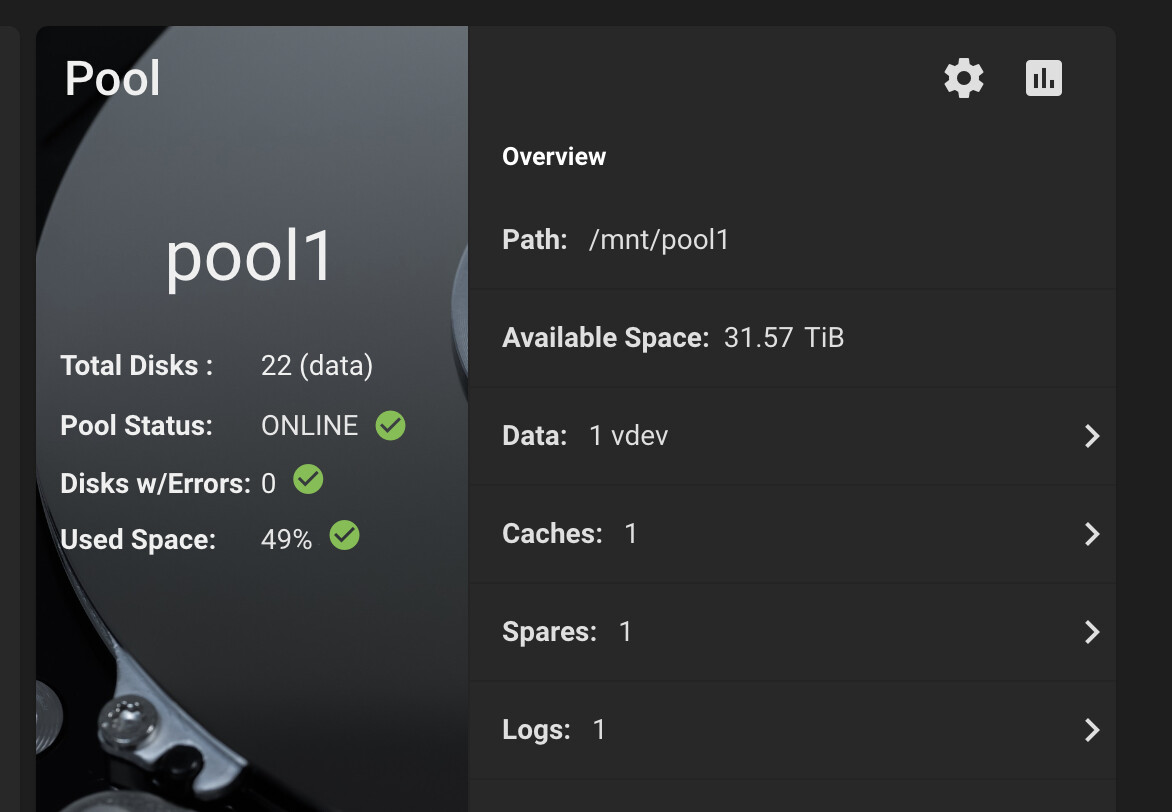
I detached da22 and suddenly all the SPARE drive lists disappeared. Also from the dashboard.

I now have 22 drives in the pool, but no mention of SPARES any longer.
So I checked AI and its tells me to add the two drives as spares using the add VDev page.
This was its response:
To add a drive as a spare in TrueNAS CORE, follow these steps
- Go to the Storage > Pools screen in the TrueNAS web interface.
- Click on the settings icon for the pool where you want to add the spare.
- Select Add Vdevs to open the Pool Manager screen.
- In the Pool Manager, click ADD VDEV and select Hot Spare.
- Select an available disk from the list and click to add it to the Spare VDev.
- Click ADD VDEVS. You will be prompted to confirm your selection.
- Select Confirm, then click ADD VDEVS again to complete the process.
- After completing the job, TrueNAS will return to the Storage > Pools screen. You can check the status by clicking on the settings icon and selecting Status to confirm that the hot spare has been added.
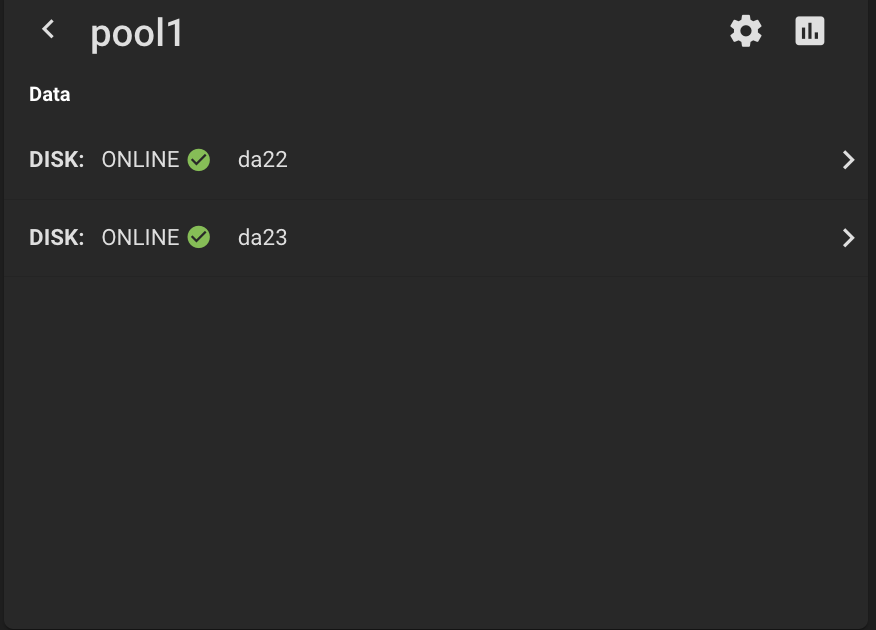
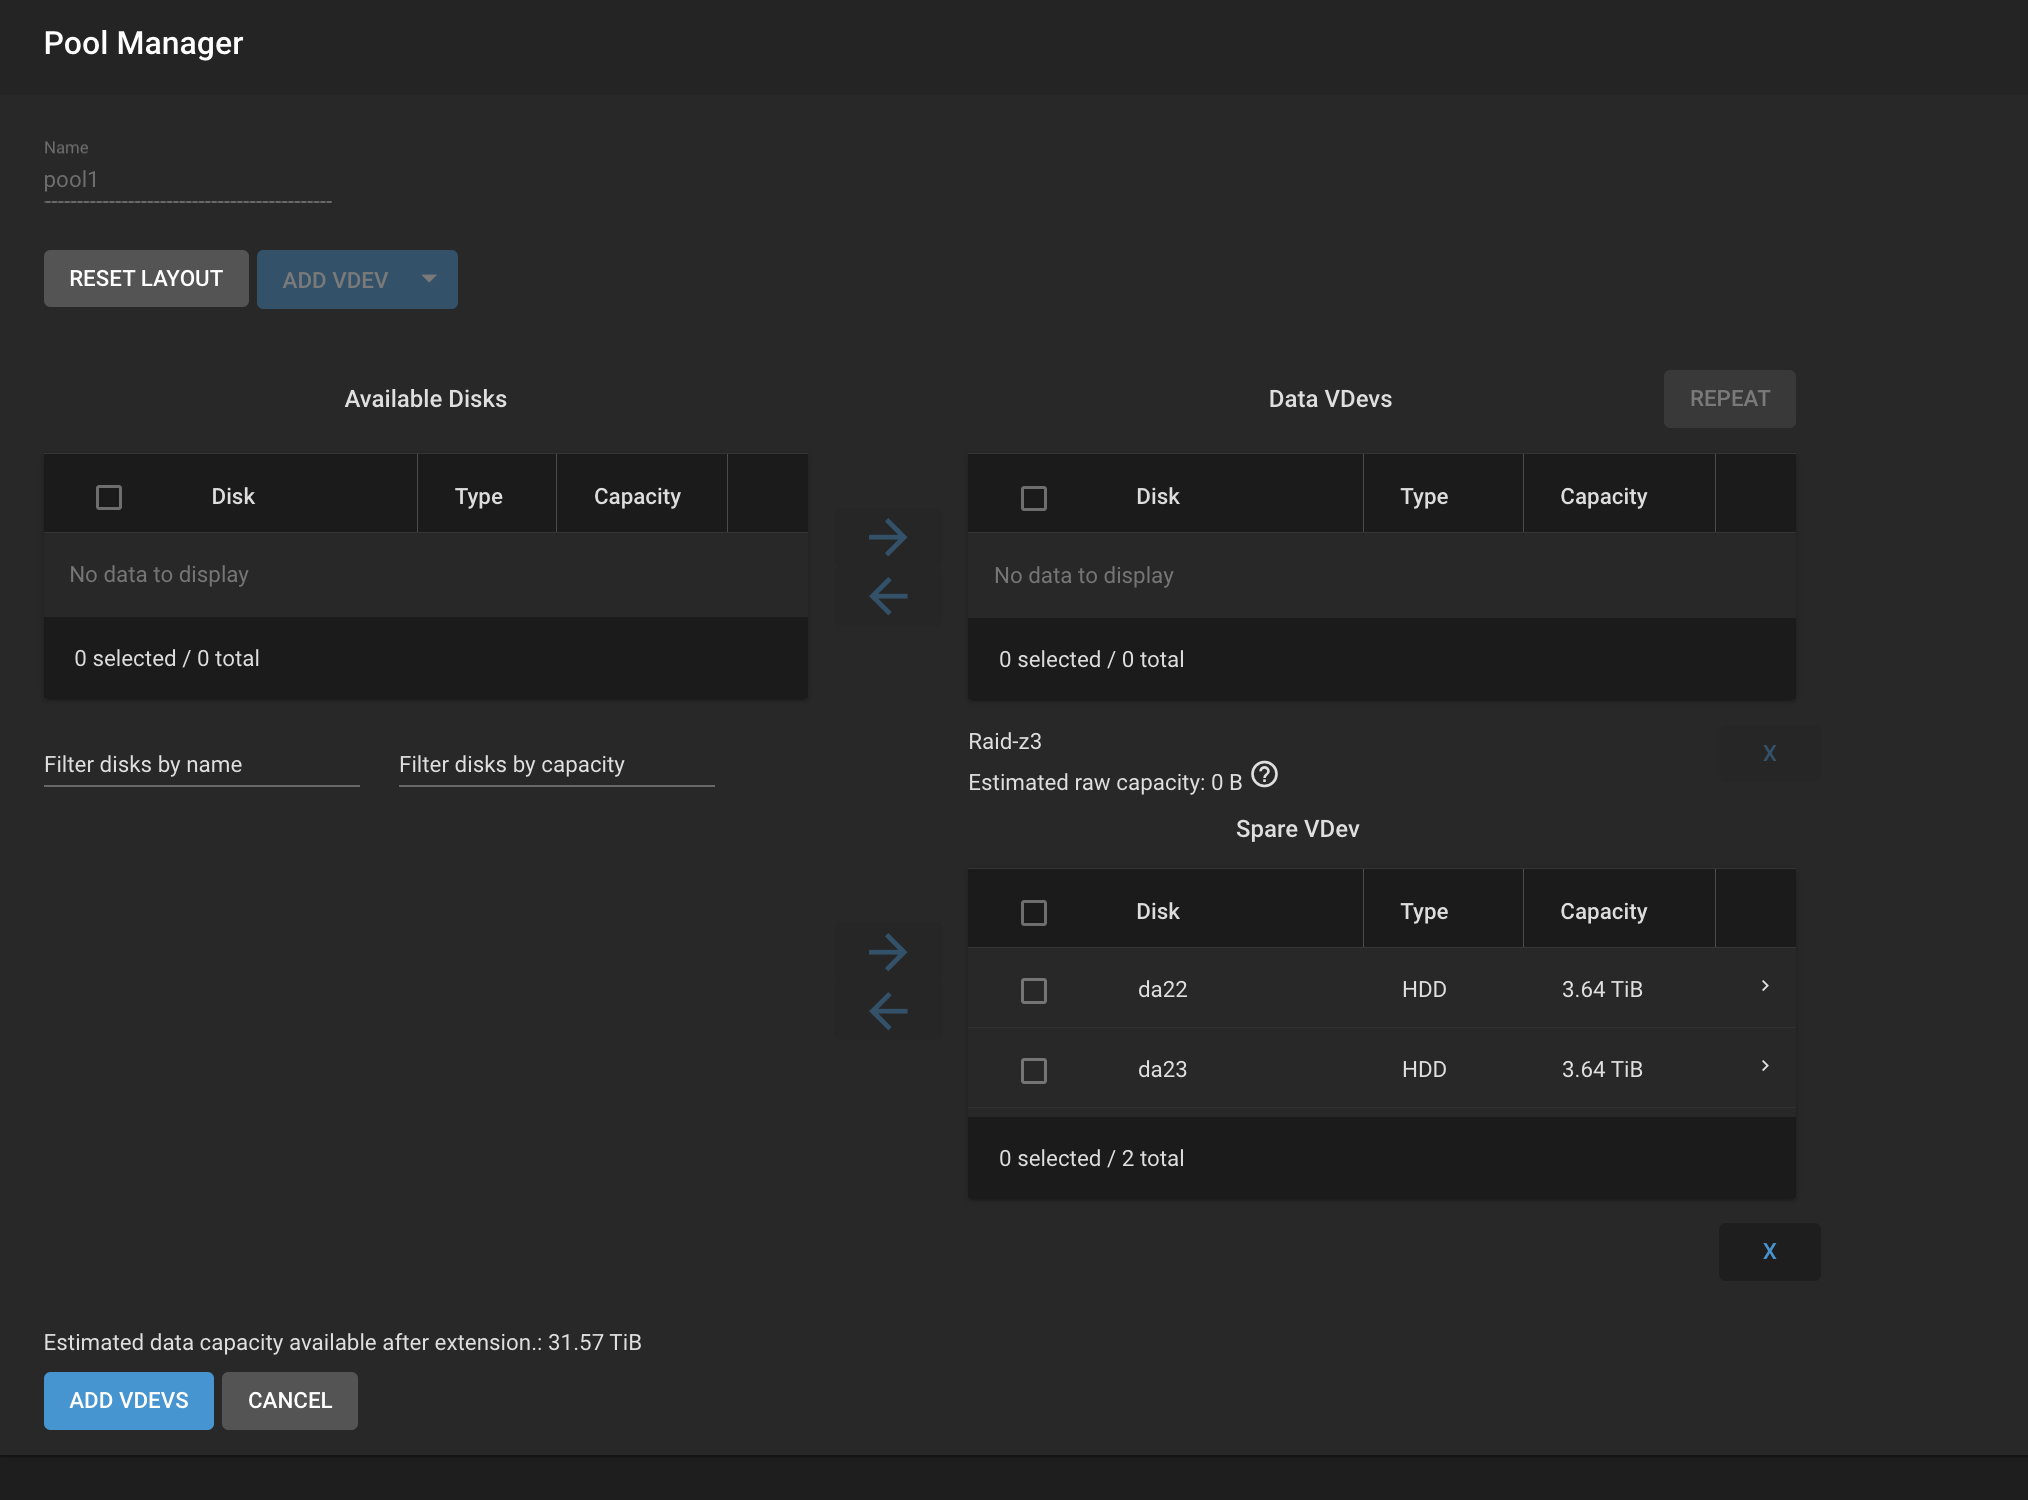
Here I can find the two drives:
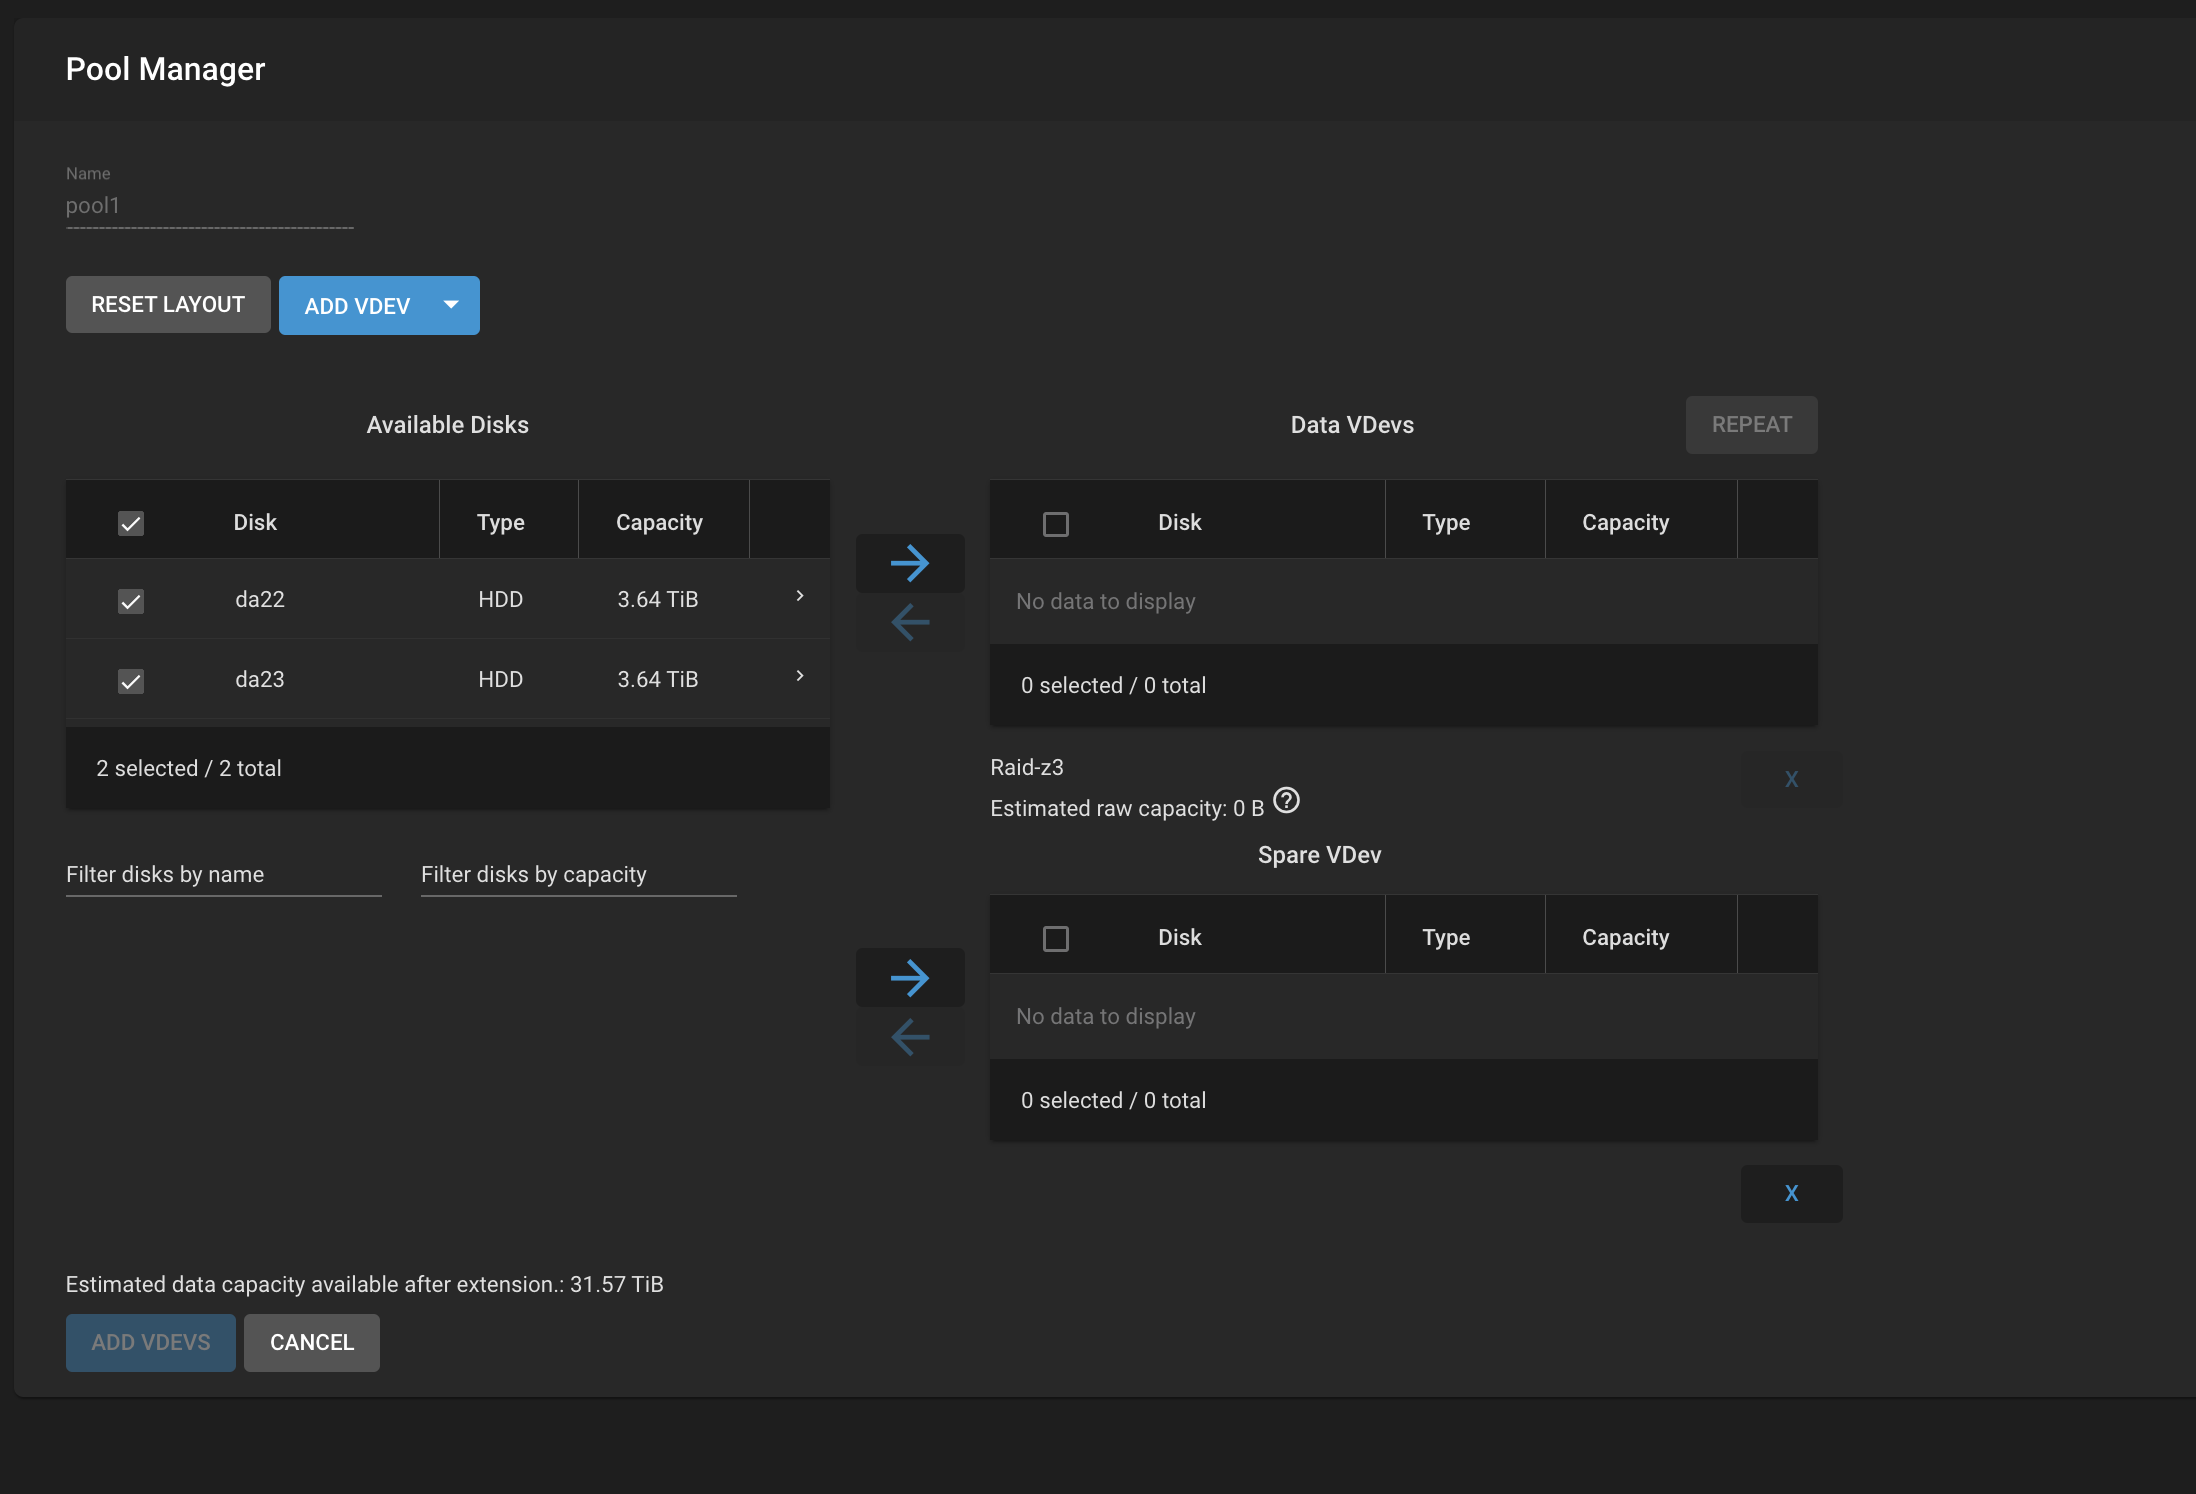
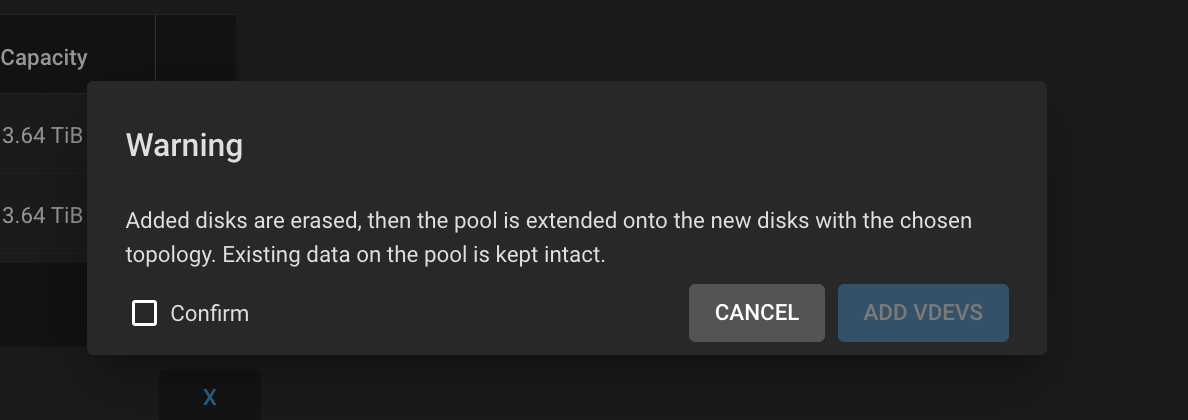
But before I trust the AI completly, I like to verify with you guys to make sure that this is the correct steps to take ![]() Is it safe now to mark Confirm and click on ADD VDEVS?
Is it safe now to mark Confirm and click on ADD VDEVS?
1 Like
Cool. It sounds like TrueNAS replaced your dead drive with the spare when you detached da22. I think that may be how you avoid another resilver.
I’d guess that now you just add a new spare vdev, in which you choose your new disk.
I recommend paying attention to serials in the future. As mentioned, the DA# can change with reboots.