I recently re-installed a TrueNas server on version 25.04.1 and discovered the new instances features for virtualization.
One of the VMs that I typically run is a Windows 11 VM that I utilized for remote management and some other tasks.
During the VM creation I discovered that there is no longer the concept of a legacy CD or disk device. In prior versions of TrueNas I would download the VirtIO drivers and load the ISO as a virtualized CD device. During the windows installation this would allow the storage drivers to be selected and installed - subsequently enabling the OS installation.
I was able to successfully install a Windows 11 VM and wanted to share the steps that I utilized.
Step 1: Locate the latest version of the VirtIO drivers and download the ISO.
Documentation: Windows VirtIO Drivers - Proxmox VE
Lastest version as of 7/21/2025: https://fedorapeople.org/groups/virt/virtio-win/direct-downloads/stable-virtio/virtio-win.iso
Double click the ISO in a Windows machine to automatically mount the ISO as virtual CD drive.
Step 2: Download your Windows 11 ISO.
Step 3: Download and install NTLite.
Step 4:
Disable Windows Defender real time scanning. NTLite, for performance purposes, requires disabling Windows Defender real time scanning.
On a Windows machine select start and type “Windows Security”.
Select virus & threat protection.
![]()
Under “Virus & Thread Protection Settings” select “Manage Settings”
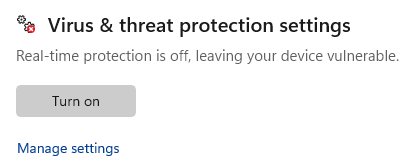
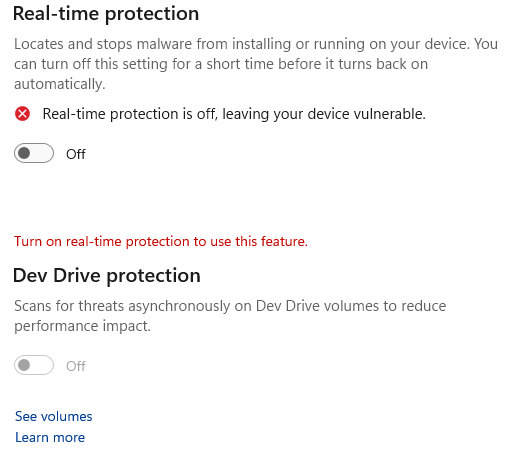
At minimum disable real time protection. I disabled everything just for the sake of having it all turned off.
Step 5: Launch NTLite and inject drivers.
When launching NTLite the modification wizard starts.
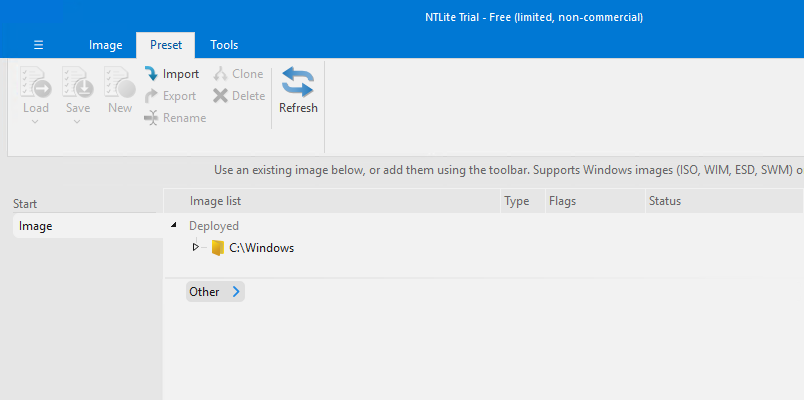
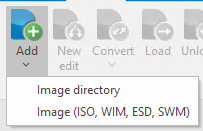
Select the Add drop down in the upper left-hand corner and select (Image (ISO,WIM,ESD,SWM). Using file explorer locate the Windows ISO that was downloaded previously.
This will display the Windows versions that are contained within the ISO. Depending on the source of your ISO one or more versions will be present. Right click on the version of Windows 11 you desire to use and select load. This will copy the image to the local machine for editing. Note: this may take sometime be patient.
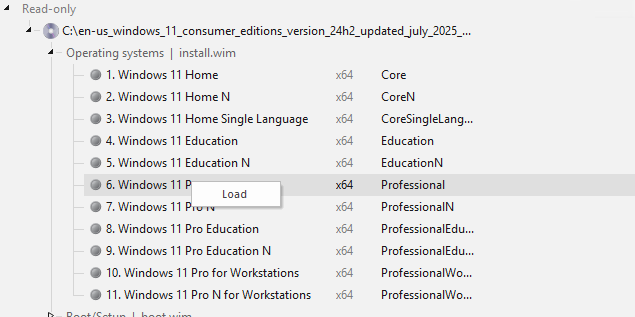
Once the image is loaded a green dot will appear next to it an an operations menu appears on the left. Select drivers to access the drivers screen. In the drivers selection window in the middle select the add button → directory. Navigate to the mounted VirtIO drivers ISO and select the drive. This will load all of the drivers into the Windows installation that were contained in the ISO. Note: You could if you desire limit the selection to just the storage drivers. When completed the list of drivers is displayed in the window.

Select the apply option in the operations menu on the left to apply the drivers.
Step 6: Process the image and create the installation ISO.
Once the drivers application is done the installation processing can be completed.
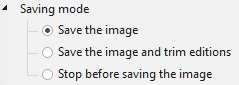
Under saving mode I leave the default.
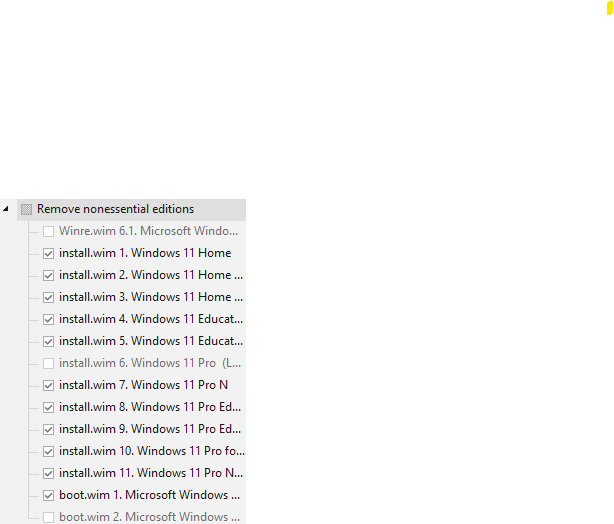
Under Remove nonessential editions I select this option. This removes all other windows versions not previously imported or modified.
Under Image Format i leave the default.

This next step is VERY IMPORTANT. Under reapply tasks across editions expand the options and expand Integrate - Drivers. Place a checkbox next to all versions that will be included in the final installation ISO. At minimum ensure that the boot.wim is selected. The windows installation uses the boot environment to being the install, if the drivers are not loaded and present in the boot environment also you will not be able to install Windows.

Lastly under options select Create ISO.
![]()
Step 7: Process the ISO.
In NTLite select the green process button in the upper left corner. This will begin the driver integration and ISO processing. When the operation is completed you will have an installation ISO.
Step 8: Upload the ISO into TrueNas Instances.
Under instances select configuration → manage volumes. Use the upload ISO feature to upload the ISO created by NTLite. This ISO can then be attached to your virtual machine to satisfy the Windows installation.
Step 9: Install windows.
You will need to be quick on this one. Have your VNC viewer pre-configured with the VNC patch displayed under instances for the choosen VM. Once you start the VM immediately connect with VNC and very quickly hit the enter key. This is necessary to catch the press any key to install windows that comes up when it first boots to the ISO. If you miss it the VM enters PXE boot and you will need to poweroff and start over.
I hope this tutorial helps get those Windows VMs setup quickly.