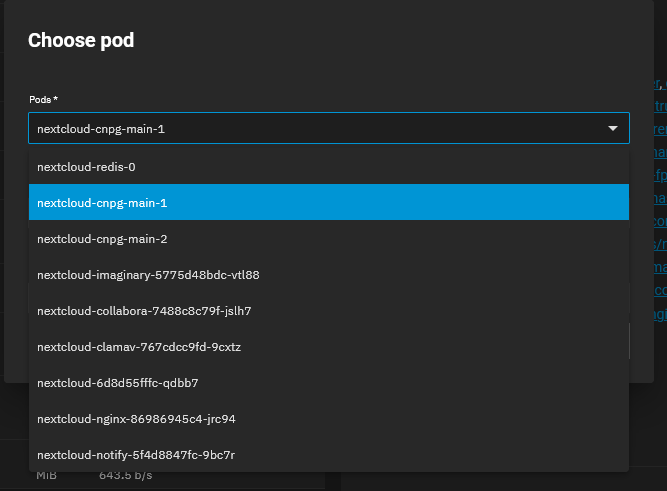
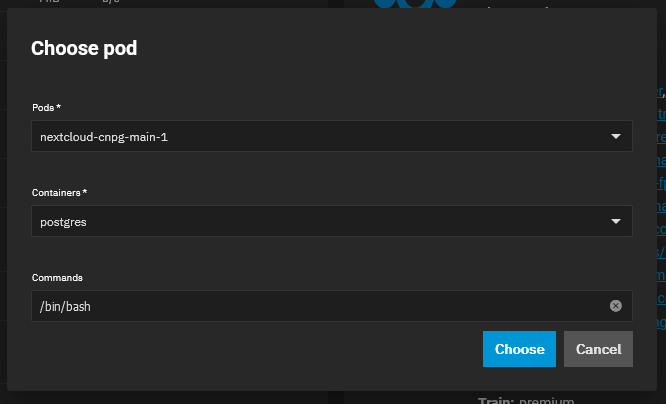
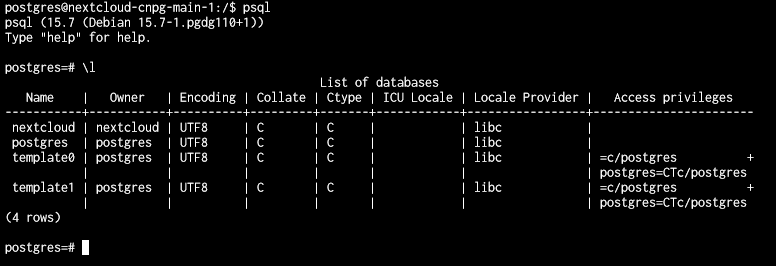
I’ve been stalled out ever since truecharts took down their app repo. Mostly because I didn’t want to use an interim solution like dockge+jailmaker (and have to migrate everything again when the next Truenas version is released). Well I wish I’d been paying more attention to things, because now I’ve seen Stux’s video about migrating from jailmaker and it looks like the solution in 24.10 is still dockge just without jailmaker. So what am I waiting for? Let’s go!
I’m going to start from zero here. Full Truecharts setup with the operator charts, cnpg, traefik, and all that jazz on Truenas 24.04.
Setting up jailmaker and Dockge
First step is installing jailmaker and then Dockge. I looked at both the Truenas doc and Stux’s video for this. My only deviation was changing the default network bridge when installing the docker template config with jailmaker.
I’m going to pause to mention that I don’t know what I’m doing. Bridge NICs never really clicked in my brain, so don’t blindly follow what I did here.
The default docker config has this section:
systemd_nspawn_user_args=--network-bridge=br1
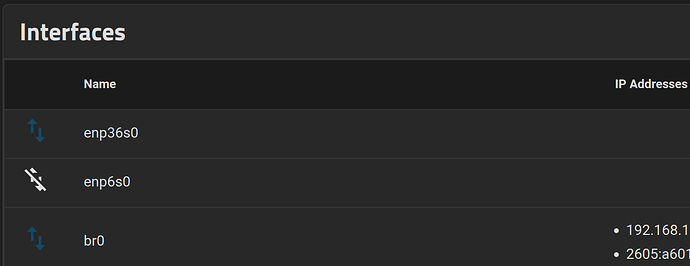
But my Truenas system is already using br0 for apps:
So I changed that line in the config to use br0, and it seems to have worked.
systemd_nspawn_user_args=--network-bridge=br0Either way I recommend you follow Stux’s video and make sure your demo app can ping out to the wider internet once installed.
More jailmaker networking info.
I also didn’t follow any of the other network configuration Stux goes through in the video. Once I’d set the bridge and let docker start up, it pulled its own IP address and I made it static on the router side.
Now we have jailmaker installed to /mnt/application/jailmaker/jlmkr.py and a docker “VM” installed to /mnt/application/jailmaker/jails/docker/. And then dockge is installed to that docker VM. Everything by following the video. It gets a tiny big convoluted, so here’s the list:
- TrueNAS 24.04
- Install Jailmaker on TrueNAS
- Install Docker on Jailmaker on TrueNAS
- Install Dockge on Docker on Jailmaker on TrueNAS
- And next up: install an app on Dockge on Docker on Jailmaker on TrueNAS
What about volume paths for tt-rss?
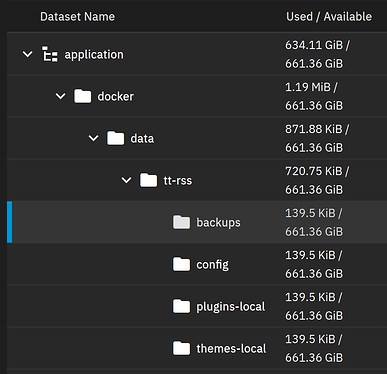
The truecharts version of tt-rss allows you to make config, plugins.local, and themes.local into mounts to Truenas. You can do that in dockge too, but instead I’m going to prefer using docker cp to copy themes and such over to the docker volumes. If you want to set up host mounts, see the next post in this thread.
Installing tt-rss in Dockge
Like in Stux’s video, click “+ Compose” to create a new app in Dockge. The basic information from tt-rss’s installation documentation still works here, but I made some changes:
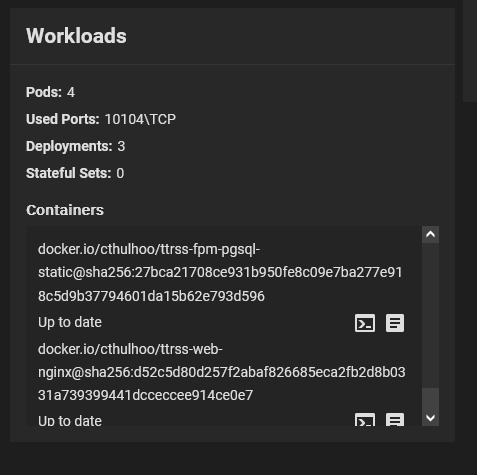
- Since Truecharts started using some weird amalgamation database system, going backwards from their Postgresql 16.3 to tt-rss’s version 15 isn’t automatic. Instead of wrestling with it, just change tt-rss’s compose to use the newer version 16.
- And in order to make migrating easier, add pgadmin to the compose.
The result will look like this:
compose.yaml
version: "3"
services:
  db:
    image: postgres:16-alpine
    restart: unless-stopped
    env_file:
      - .env
    environment:
      - POSTGRES_USER=${TTRSS_DB_USER}
      - POSTGRES_PASSWORD=${TTRSS_DB_PASS}
      - POSTGRES_DB=${TTRSS_DB_NAME}
    volumes:
      - db:/var/lib/postgresql/data
  pgadmin:
    image: dpage/pgadmin4
    container_name: pgadmin4_container
    restart: always
    ports:
      - 8281:80
    environment:
      PGADMIN_DEFAULT_EMAIL: ctag@me.com
      PGADMIN_DEFAULT_PASSWORD: mypassword
    volumes:
      - pgadmin-data:/var/lib/pgadmin
  app:
    image: cthulhoo/ttrss-fpm-pgsql-static:latest
    restart: unless-stopped
    env_file:
      - .env
    volumes:
      - app:/var/www/html
      - ./config.d:/opt/tt-rss/config.d:ro
    depends_on:
      - db
  #  optional, makes weekly backups of your install
  #  backups:
  #    image: cthulhoo/ttrss-fpm-pgsql-static:latest
  #    restart: unless-stopped
  #    env_file:
  #      - .env
  #    volumes:
  #      - backups:/backups
  #      - app:/var/www/html
  #    depends_on:
  #      - db
  #    command: /opt/tt-rss/dcron.sh -f

  updater:
    image: cthulhoo/ttrss-fpm-pgsql-static:latest
    restart: unless-stopped
    env_file:
      - .env
    volumes:
      - app:/var/www/html
      - ./config.d:/opt/tt-rss/config.d:ro
    depends_on:
      - app
    command: /opt/tt-rss/updater.sh
  web-nginx:
    image: cthulhoo/ttrss-web-nginx:latest
    restart: unless-stopped
    env_file:
      - .env
    ports:
      - ${HTTP_PORT}:80
    volumes:
      - app:/var/www/html:ro
    depends_on:
      - app
volumes:
  db: null
  app: null
  backups: null
  pgadmin-data: null
networks: {}
Update the pgadmin account and password, and then enter the .env file:
.env
# Put any local modifications here.

# Run FPM under this UID/GID.
OWNER_UID=568
OWNER_GID=568

# FPM settings.
#PHP_WORKER_MAX_CHILDREN=5
#PHP_WORKER_MEMORY_LIMIT=256M

# ADMIN_USER_* settings are applied on every startup.

# Set admin user password to this value. If not set, random password will be generated on startup, look for it in the 'app' container logs.
#ADMIN_USER_PASS=

# Sets admin user access level to this value. Valid values:
# -2 - forbidden to login
# -1 - readonly
#  0 - default user
# 10 - admin
#ADMIN_USER_ACCESS_LEVEL=

# Auto create another user (in addition to built-in admin) unless it already exists.
#AUTO_CREATE_USER=
#AUTO_CREATE_USER_PASS=
#AUTO_CREATE_USER_ACCESS_LEVEL=0

# Default database credentials.
# You can generate a db password with `openssl rand -base64 12`
TTRSS_DB_USER=postgres
TTRSS_DB_NAME=tt-rss
TTRSS_DB_PASS=password

APP_WEB_ROOT=/var/www/html/tt-rss
APP_BASE=

# You will likely need to set this to the correct value - it should point to external tt-rss URL as seen in your browser.
TTRSS_SELF_URL_PATH=http://192.168.13.78:8280

# You can customize other config.php defines by setting overrides here. See tt-rss/.docker/app/Dockerfile for complete list. Examples:

# You probably shouldn't disable auth_internal unless you know what you're doing.
# TTRSS_PLUGINS=auth_internal,auth_remote
# TTRSS_SINGLE_USER_MODE=true
# TTRSS_SESSION_COOKIE_LIFETIME=2592000
# TTRSS_FORCE_ARTICLE_PURGE=30
# ...

# Bind exposed port to 127.0.0.1 to run behind reverse proxy on the same host. If you plan expose the container, remove "127.0.0.1:".
#HTTP_PORT=127.0.0.1:8280
HTTP_PORT=8280
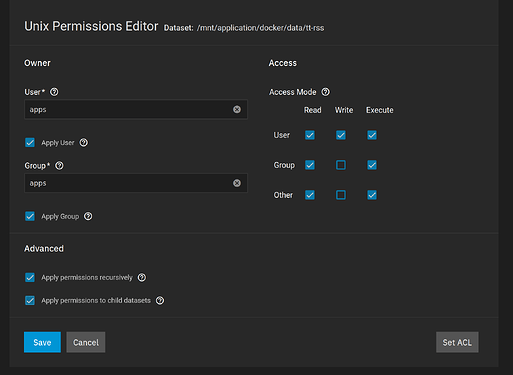
I made a few changes here. The only important one is setting the database to tt-rss otherwise you’ll have to restore the Truecharts tt-rss db into the postgres db of the new instance. I also set the user/group to ‘apps’ UID of 568, changed the port to allow external access, set the self_url, and added a snipped to make the app_base empty (otherwise you’ll be browseing to http://[ip]:8280/tt-rss/).
Click save, and then start your new app. If you didn’t set a password for the tt-rss admin user, grab it from the log output and try logging in. Once that works, open pgadmin and add a new server. For the hostname put db:
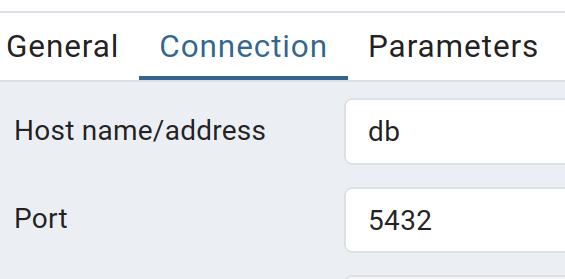
Once that all works, lets shift back to the truecharts app and make a backup. Here’s where it can get sticky, I already had pgadmin installed through the truecharts documentation. And if you don’t already have it, they’ve disabled access to go install it. So you can either install pgadmin from a re-hosted truecharts catalog, or use the terminal commands below.
Using pgadmin to create database dump:
Log in and create a new server to connect to your tt-rss database. For the hostname, use the tcdbinfo.sh script.
For me it was tt-rss-cnpg-main-rw.ix-tt-rss.svc.cluster.local
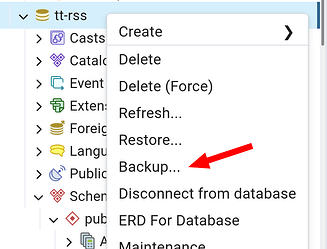
Right click on the server and select “Backup…”
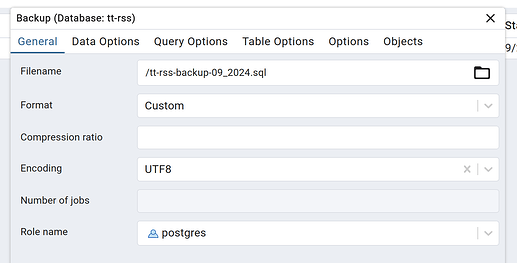
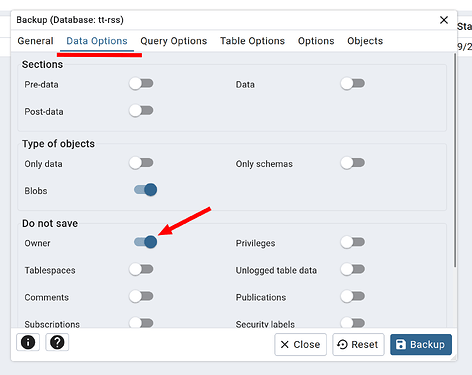
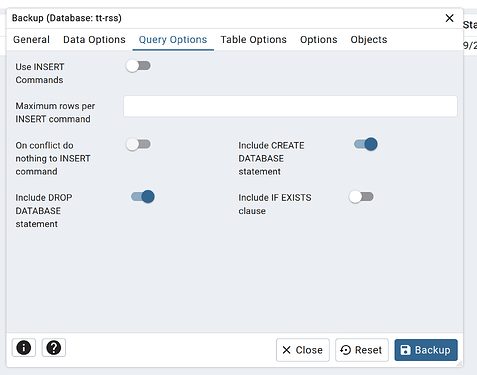
There are guides out there for making and restoring backups from pgadmin. Here are the settings I used though:
Click Backup.
To download the file, go to “Tools” in the blue menu at the top of the screen, and select “Storage Manager”. Click the file and download it.
Making backup file without pgadmin:
This doesn’t appear to be on truechart’s website anymore, but at one time I found a script that makes backups of all pgsql apps. Here is it’s contents:
tcdbbackup.sh:
#!/bin/bash
# create backup folder
folder="./dumps/"
mkdir -p "$folder"

# get namespaces with postgres database pod
namespaces=$(k3s kubectl get pods -A | grep postgres | awk '{print $1}')

for ns in $namespaces; do
  # extract application name
  app=$(echo "$ns" | sed 's/^ix-//')

  echo "Creating database backup for $app."

  file="$app.sql"

  # Scale down deployment to avoid inconsistencies in DB
  k3s kubectl scale deploy "$app" -n "$ns" --replicas=0
  while true; do k3s kubectl get pods -n "$ns" | grep -i -q terminating || break; done;

  k3s kubectl exec -n "$ns" -c "$app"-postgresql "$app"-postgresql-0 -- bash -c 'PGPASSWORD=$POSTGRES_PASSWORD pg_dump -Fc -U $POSTGRES_USER -d $POSTGRES_DB -f /tmp/'$file
  k3s kubectl cp -n "$ns" -c "$app"-postgresql "$app-postgresql-0:tmp/$file" $folder$file

  # Scale deployment back up
  k3s kubectl scale deploy "$app" -n "$ns" --replicas=1

  if [ ! -f "$folder$file" ]; then
    >&2 echo "$folder$file does not exist."
    exit 1
  fi

  echo "File $file created."
done
exit 0
Running that script should create .sql dumps of apps in a new folder called dumps/.
Using backup file you just made on new tt-rss app:
Now re-open pgadmin for your new tt-rss instance. Upload the same backup file in the Storage Manager. Then create a new database named “tt-rss”. I’m not sure if that’s strictly necessary, but it didn’t hurt. Right click the tt-rss database and select “Restore…”. Pick the uploaded file, and select “postgres” for the role drop-down. Click Restore!
Once that completed, I re-started my tt-rss and had all of my settings and saved feeds
