Offtopic: Papier-mâché Halloween madness

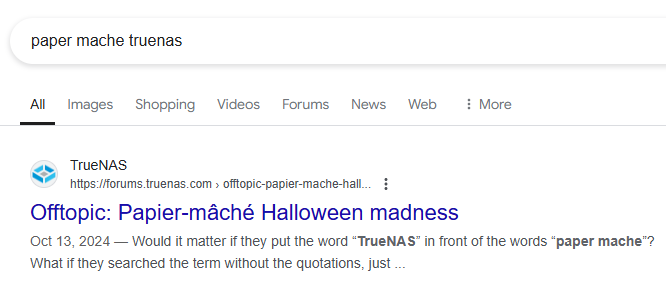
Welp, it’s that time of year again where all free afternoon / evening hours are dedicated to building a folly whose sole purpose is to be finished by 17:00 on October 31 and hopefully last about 6 hours. Anything beyond that is gravy, sort of like the Mars Spirit and Opportunity rovers lasting way longer than anyone expected. Past build reports can also be found in the old forum, which hilariously can be googled with “Paper mache TrueNAS”.

OK, onwards to 2024, which was inspired by my youngest. A cheshire cat was desired, so it naturally has to be somewhat modified re: Halloween. Thus, a cat skull concept was born, though Halloween being Halloween, it needed to have live eyes. Live Eyes are also a lot easier to make than Cat skull eye sockets, look them up sometime, they are bizarre.

Why a skull, you ask? It has been my observation starting with the spidercrab in 2018, that kids love the thrill of walking through a Halloween sculpture. While I considered a really narrow maw to make the experience a bit claustrophobic on purpose, I decided I needed something wider so parents can pull their offspring through the hole.

So, we start at the throat, which holds everything up. Pieces are added to this once the tunnel is in place across the path to the house. Joints are then connected, covered, primed, and painted. As always, the biggest obstacle is trying to “see” how the piece will come together. Enough blather, lets’s go!


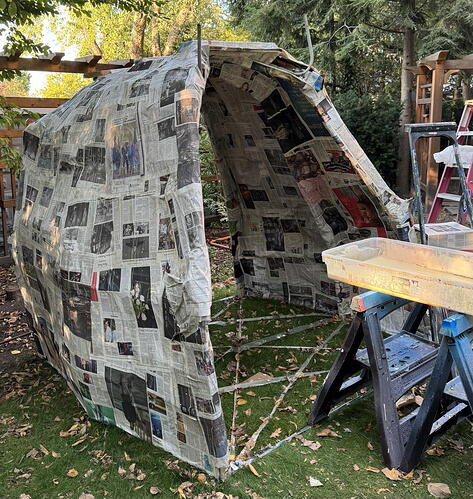
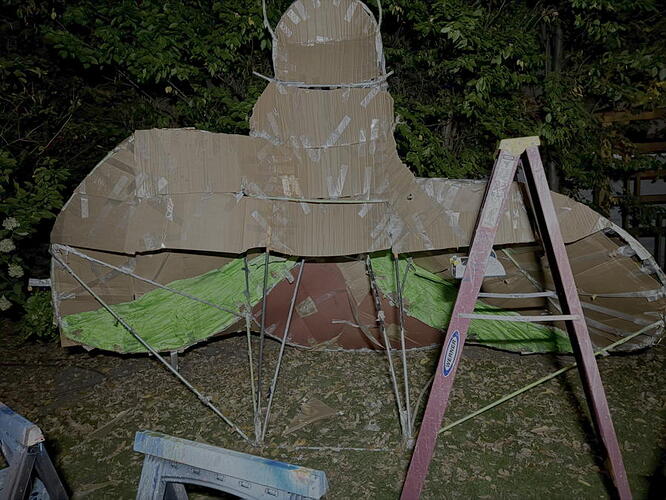
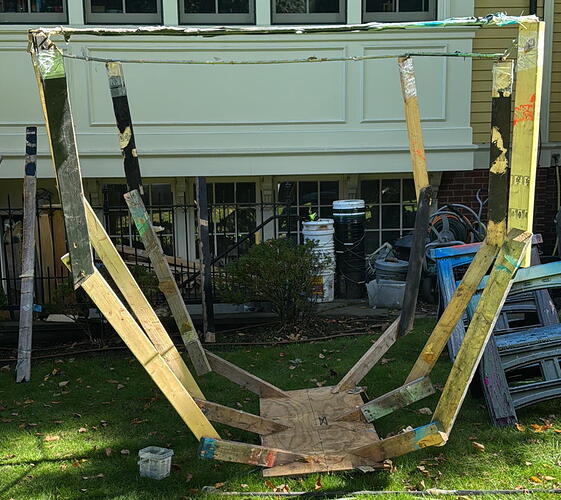
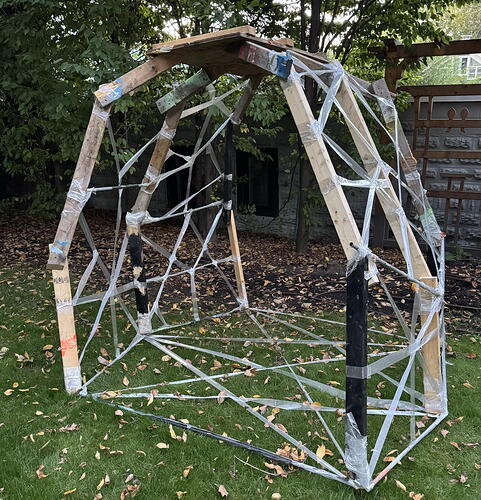
First to be built, the tunnel recycles a previous gut component from the fire-ant, aka the center where all the legs attached. That’s the board at bottom. Add some tunnel stringers and some conduit, and you have yourself a pretty sturdy base.


As you can imagine, the stringers are not terribly strong and wind loads being what they can be, I add a lot of glass-fiber reinforced tape to make the thing less wobbly. A few cross braces help re: racking…


I added a lot of cardboard on the outside , then papered it over on the inside and outside. You want to invert the thing for the inside paper mache, it’s a lot easier to do when it’s upside down. So this thing is practically ready for primer.
5 Likes

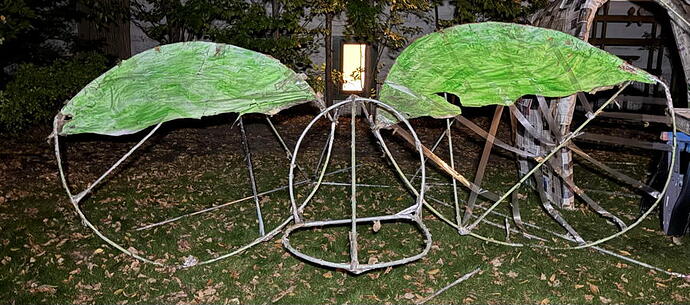
Now for the forehead / eyes. This sits on top of the tunnel and is captured by the board in the rear.


This is the basic frame, with a lot of reused metal conduit from past projects, notably the bumble-bee wings. I call this a Bleriot XI because it reminds me of the tube frame construction of that plane.


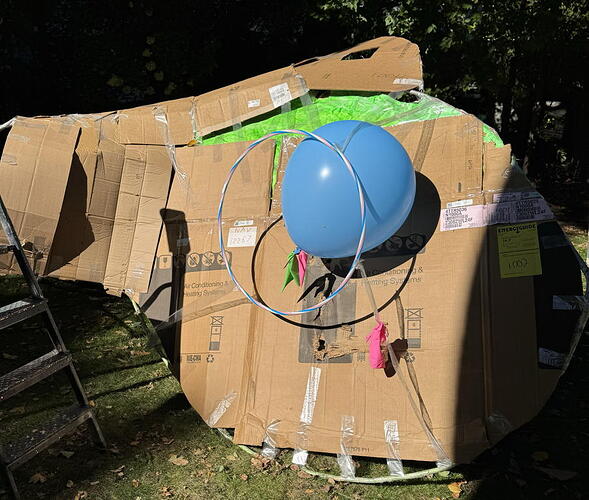
Being the lazy bum I am, I wanted to make eyes quickly but discovered the hard way that Amazons large balloon selection is limited and expensive. Smaller balloons seemed like a great idea until I discovered how well latex and strapping tape interact - see remains…

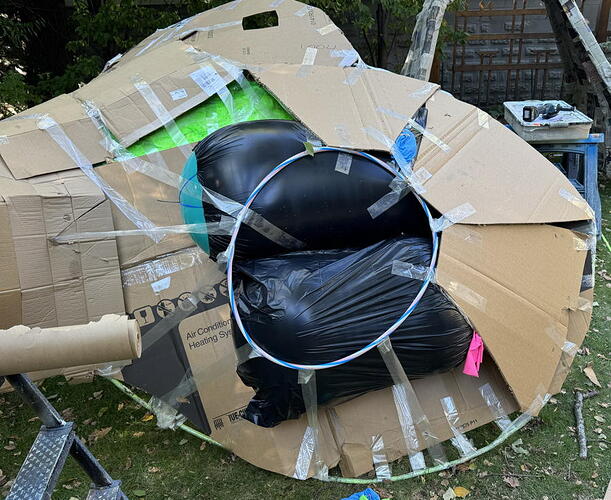
Lazy bums like me are not discouraged for long, so I put a cover on the balloons, which is working. Thank goodness for air compressors. I would have died trying to inflate all those balloons by myself.


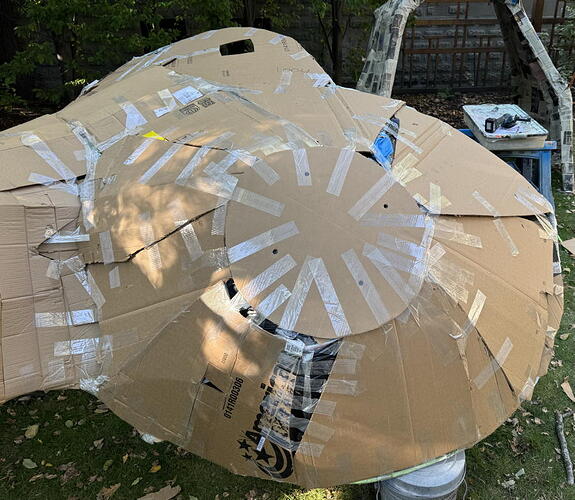
Shortly thereafter, the eye was covered and being able to push the center in while applying tape is really helpful as it puts the tape in tension, which helps smooth edges.


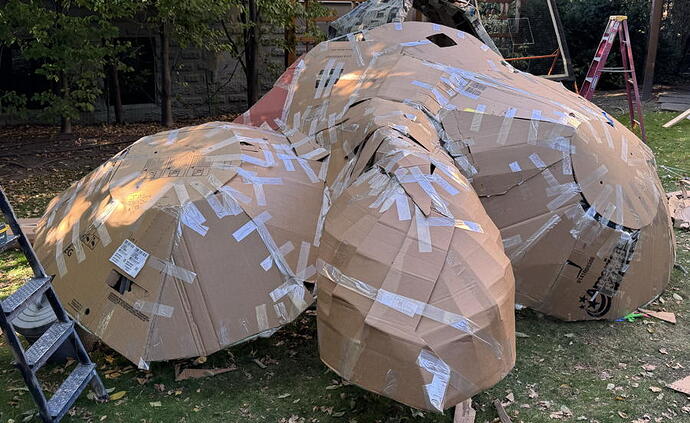
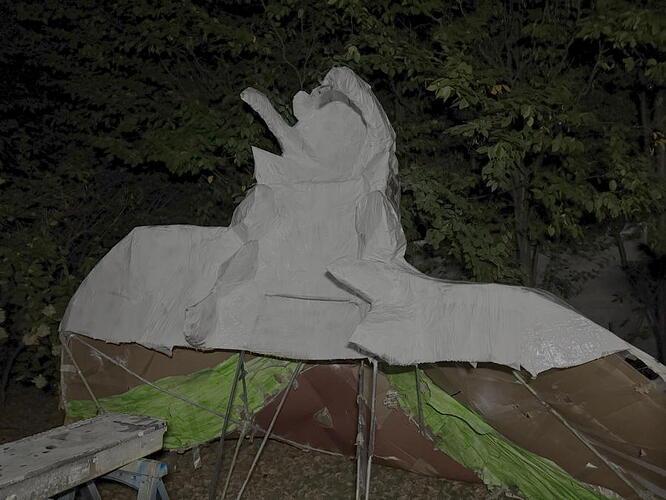
So that’s the forehead / eyes / nose covered with cardboard but no bottom layer or newsprint layer. This gets both because the bottom layer (#60 lb kraft paper or somesuch) brings strength to bind the various pieces of cardboard together while the newprint layer further smoothes surfaces.


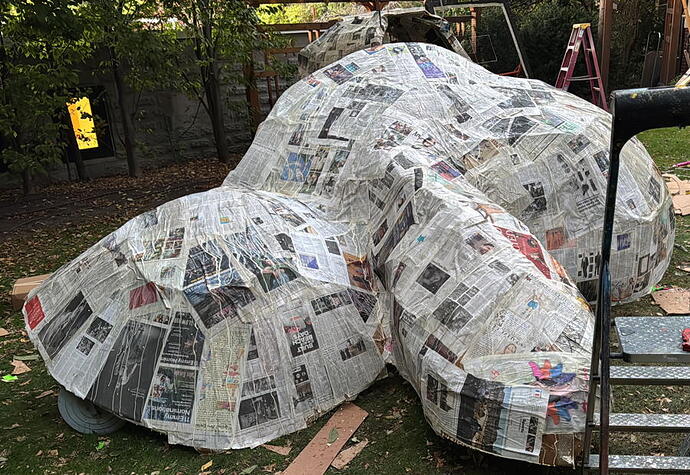
That brings is to the forehead / eyes / nose top ready for primer. Given the rain forecast, I covered it all and pushed it to the side of the yard to give the grass some hope of recovering a bit. I am unlikely able to do anything for a few days but hope to start soon on the most important part, i.e. the jaw and the top of the mouth.

5 Likes

This is going to be somewhat of a Trompe-l’œil in that unlike past efforts I am not building a fully-3D creature.

I don’t have enough time and people have asked how the thing was built so I will likely leave the back open so the tube frame construction will be visible from that perspective. That may impact survive-ability in storms (if we get any) since the open pocket may allow the wind to cantilever the structure somewhat.

3 Likes

Thanks so much for posting - I have looked forward to this each year since you began sharing your efforts here!

3 Likes

Are we sure your presence on the forums is not merely a façade for an SEO operation for your Halloween hobby?

3 Likes

Are you insinuating that if someone were to search “paper mache TrueNAS” in their favorite search engine, it would take them to this thread, where @Constantin is posting his paper mache photos in the TrueNAS forums?

What if they searched the terms “Paper mache TrueNAS”, but all in lowercase letters, such as “paper mache truenas”? What about if they searched for it, but capitalized only the first letter in each word, such as “Paper Mache Truenas”?

Would it matter if they put the word “TrueNAS” in front of the words “paper mache”?

What if they searched the term without the quotations, just simply writing paper mache truenas?

How about only quoting the first two words, “paper mache”, and leaving the last word on its own as “TrueNAS”?

Oh no! My cat just jumped on my lap! Now she’s walking over my keyboard!

paper mache truenas paper mache truenas paper mache truenas paper mache truenas paper mache truenas paper mache truenas paper mache truenas paper mache tru

Okay, she’s gone now. Sometimes cats can be so annoying when you want to be left alone at the computer.

3 Likes

Cats…

oneko -tora &

I love you, @winnielinnie. Naturally, I will now have to build a real paper mâché TrueNAS system. We wouldn’t want to disappoint, eh?

Rain forecast for the next two days and I have some winter tires to mount. Anyone want to associate summer-winter tire rotation with TrueNAS too? :wink:

1 Like

Better than all the 3D printed ones :wink:

1 Like

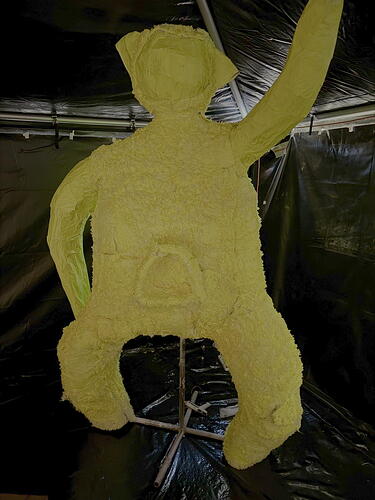
Primed the two extant structures tonight to take advantage of good weather forecast. Started making a character for the school fair funhouse which is next Saturday. Will try to have it finished tonight re: cardboard, kraft paper and newsprint so I can prime it tomorrow afternoon and put on remaining details. It’s getting cold out but the work has to continue. Not much time. Pictures later.

3 Likes

Preview from the school funhouse fair.

You can guess what my contribution was.

2 Likes

What’s the word to use for something that is scary and adorable at the same time?

Mission accomplished.


seo-hacking

:sunglasses:

1 Like

Next installment, then back to work.


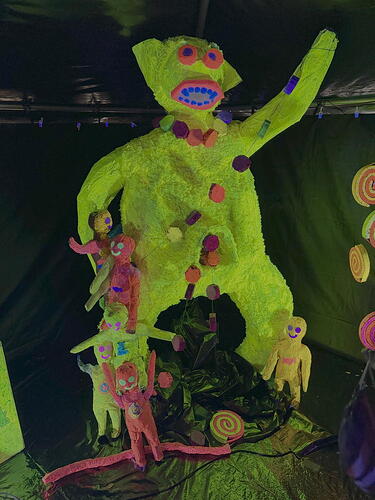
Here is Plumpy as delivered,

vs. Plumpy under UV light and with deocations / face.

2 Likes

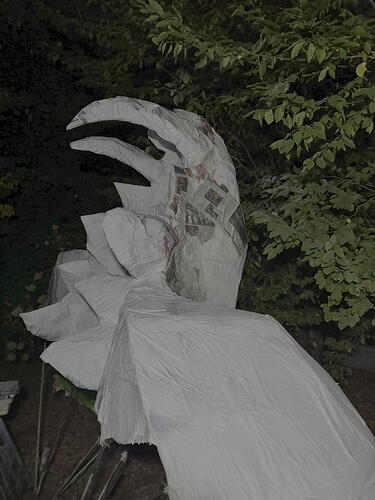
Upper Jaw was finished before Plumpy. Here is the base layer before kraft paper and teeth

Next, apply teeth, paper with kraft, paper with news print, prime.

and here from the side.

1 Like

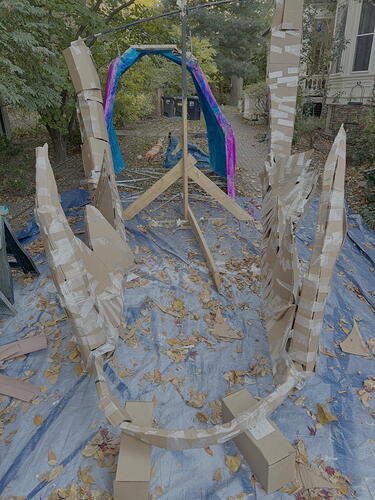
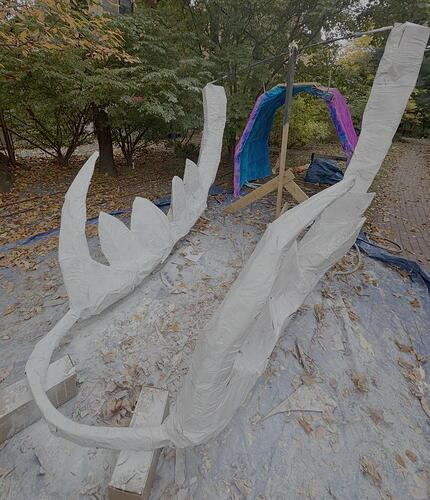
Lower Jaws have been on the menu for a while, got to finish papering same last night at 1AM. The picture was from 17:00, when I was still getting the teeth installed and before cladding with kraft paper and newsprint. .

Hectic today but good news. Despite my inability to apparently measure or build to measure, the three pieces came together. They are now secured, including two 500lb tow straps and ground anchors. Finish painting coming along feverishly as usual. Hope to have pics transferred and resized and posted no later than tonight. Appreciate patience.

3 Likes


Here are the jaws before the base coat. The bar between them held the back above the ground. In an ideal world, the bar would slip over and be held by the “horns” on the tunnel that you see in the background.

2 Likes


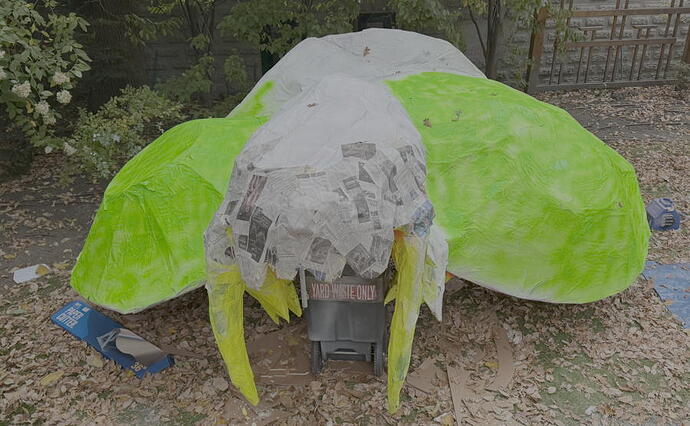
Thankfully, I was able to flip the head forward w/o issues and start painting the topside (always paint the bottom first, ideally while the stuff is upside down!). Here is the first coat for the eyes. As usual, the acrylic paint was giving me some issues but the 190 micron filters prior to deploying paint to sprayer have minimized stoppages.

1 Like