I have managed to get it to work just like I’d like it to. This is the thread that AI used to try and answer my question (sadly, unsuccessfully) so leaving this here just in case someone else also comes here looking for an answer.
Initially I had all the Immich folders on a SSD pool but have retrospectively changed things successfully so that just the thumbs and profile folders remain on a SSD pool while library, upload, encoded-video, and backups now live on a HDD pool. The postgres db continues to live on the SSD pool.
Important Notes:
- Make sure you stop Immich before making any of these changes.
- Make sure you don’t delete anything from the SSD pool until you are satisfied that everything works as you’d like to.
- It is also a good idea to ensure that you are any other users do not make any changes to Immich while this change is being made. So, close the app on your phones, etc.
Steps:
Create four datasets using the Apps preset on the HDD pool that you’d like to use for library, upload, encoded-video, and backups. While this should be enough, just double check to make sure that the Apps user (or whichever user you have setup instead for that job) has Modify access to each of these.
Run the following commands to copy contents from the SSD pool into to respective folders on the HDD pool. You will need to tailor them to make sure the paths are correct for your setup. You can add “–dry-run” at the end of the first line just before the “\” if you’d like to check everything works OK but since you’re just copying stuff, this is optional.
Even if you think you don’t have any data in one or more of the folders that you want to move from the SSD pool to the HDD pool, you still need to run the rsync command. In my case, there was only 13 bytes of data in the uploads and library folders but that is what caused Immich to remain stuck in a deploying loop.
sudo rsync -aHAXh --numeric-ids --progress \
/mnt/<your ssd pool name>/<rest of the path to current upload folder>/ \
/mnt/<your hdd pool name>/<rest of the path to newly created upload folder>/
sudo rsync -aHAXh --numeric-ids --progress \
/mnt/<your ssd pool name>/<rest of the path to current encoded-video folder>/ \
/mnt/<your hdd pool name>/<rest of the path to newly created encoded-video folder>/
sudo rsync -aHAXh --numeric-ids --progress \
/mnt/<your ssd pool name>/<rest of the path to current library folder>/ \
/mnt/<your hdd pool name>/<rest of the path to newly created library folder>/
sudo rsync -aHAXh --numeric-ids --progress \
/mnt/<your ssd pool name>/<rest of the path to current backups folder>/ \
/mnt/<your hdd pool name>/<rest of the path to newly created backups folder>/
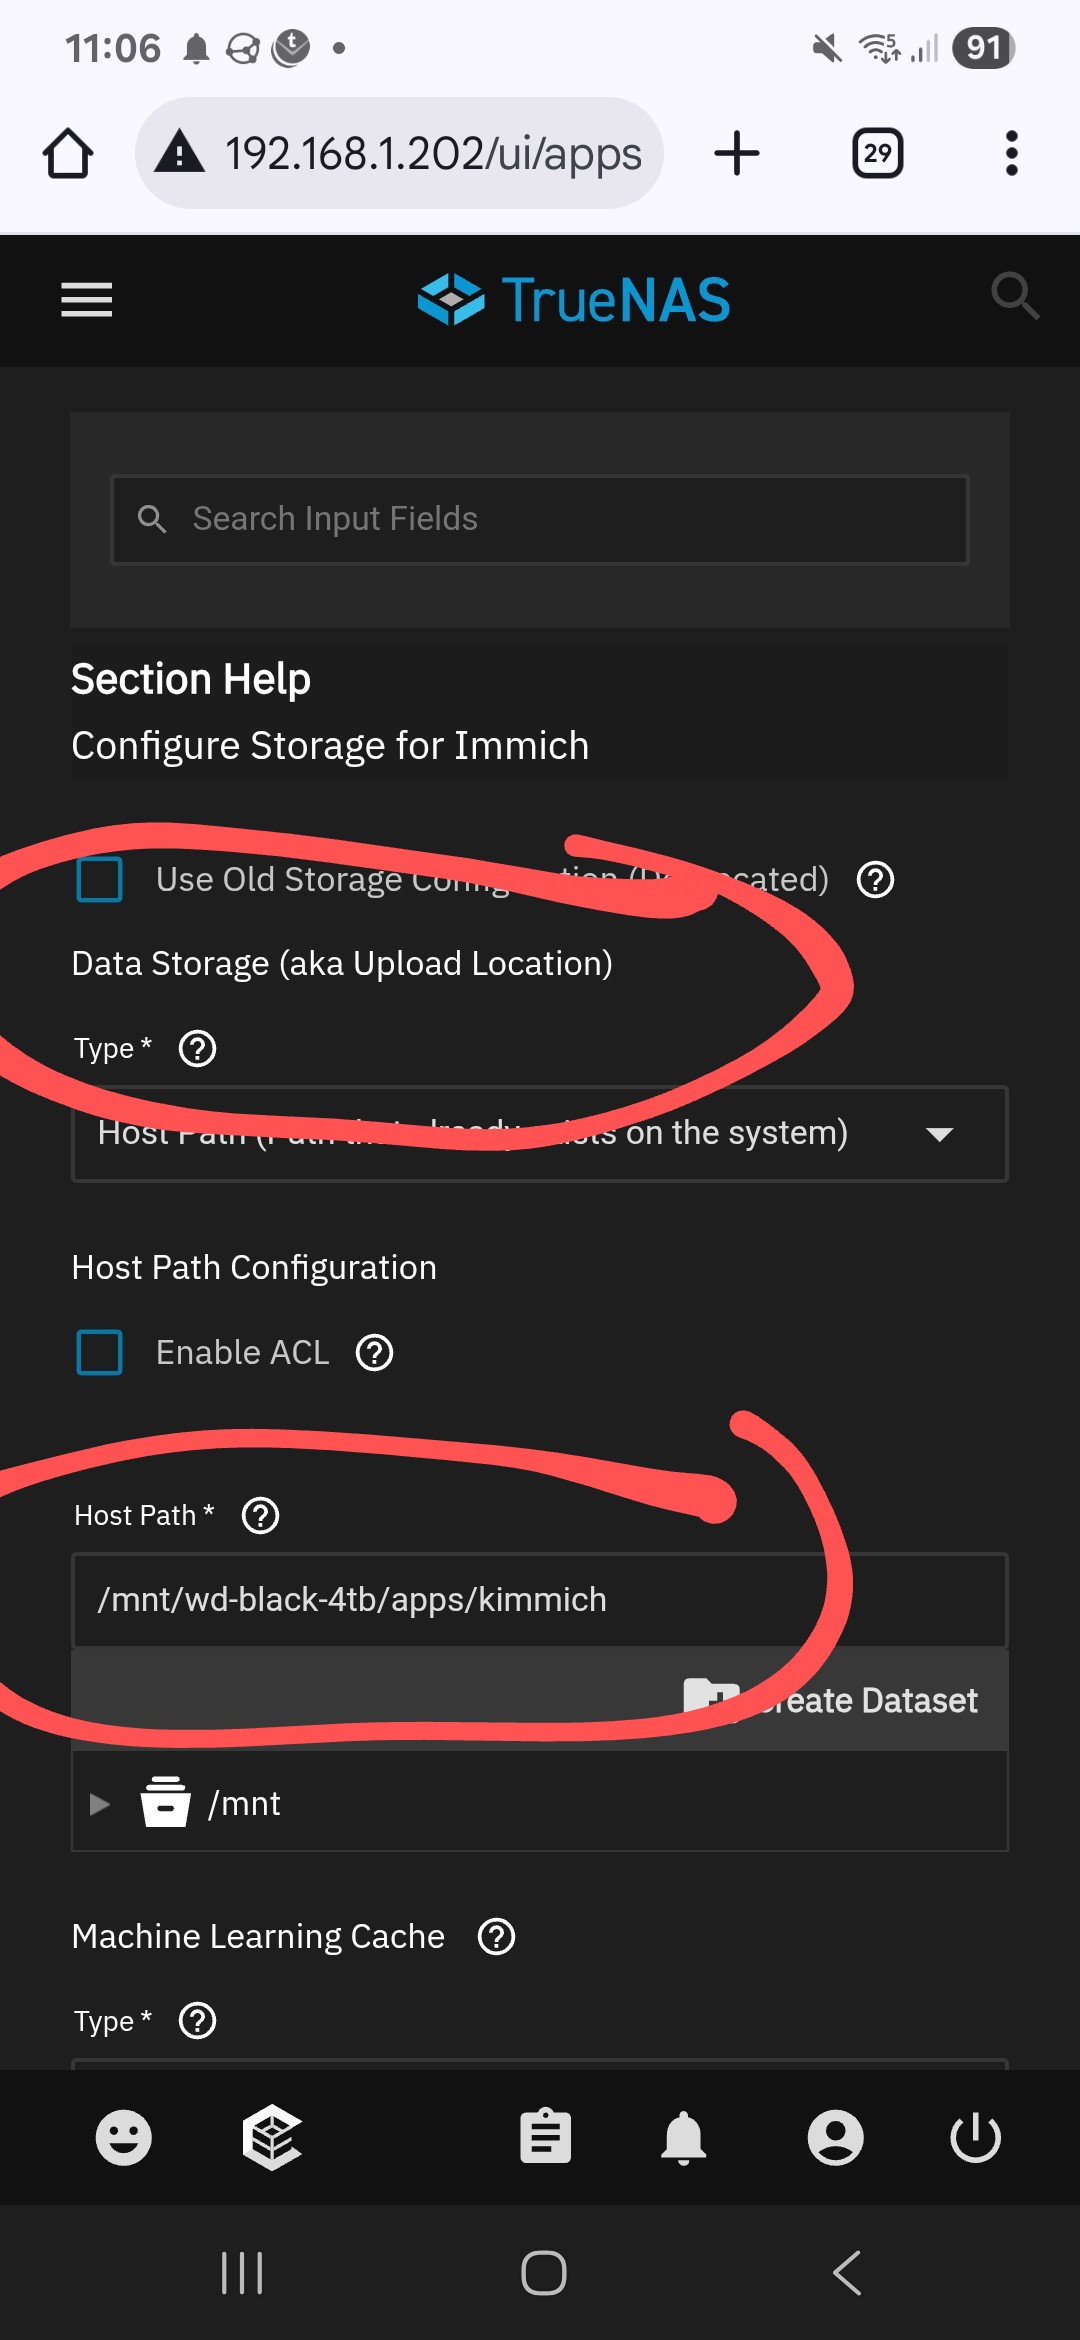
On your Immich server, edit the Immich app to make the following changes under the Storage Configuration section. Note that the data and pgdata folders remain mounted as per usual (in my case, both remain on the SSD pool).
Under additional storage, add four more locations (one for each folder you are moving). As an example, here is what the changes look like for the encoded-video folder - repeat this for all others.
Type: Host Path (Path that already exists on the system)
Mount Path*: /data/encoded-video
Host Path*: /mnt///
Once you’ve done this for all the other folders you want to move, that’s it! Start Immich and everything should work as it did before.