This handout is not a scientific proven masterpiece. However, it will due for my home setup. It describes step by step to install TrueNAS Scale followed by installing the free version of Plex. TrueNAS Scale and Plex can work together perfectly, if you configure the right Pool/Dataset, SMB user and Plex authorization. In my case I don’t bother having Full Access in all circumstances because only my wife and me use our home network.
Some preparations:
• Create a Rufus bootable USB stick with the TrueNAS Scale-iso file. Sometimes Ventoy will fail to install TrueNAS because of unrecognizable hardware.
• Prepare your NAS with at least 3 drives.
• One disk for TrueNAS Scale operating system
• Two disks for Mirror (TrueNAS Scale needs at least 2 disks for mirror)
Installing TrueNAS Scale:
Install TrueNAS Scale on the disk for TrueNAS Scale operating system. This is the easy part.
After install, reboot the system and let TrueNAS Scale do its first boot.
Accept all the default settings and DHCP config. A fixed IP-address can be set later at the GUI.
Take over the IP-address from the TrueNAS Scale console to your browser.
Login at the TrueNAS Scale GUI. Now your NAS is up and running basically.
To setup a fixed IP-address; select Network. Edit the interface and uncheck DHCP.
Click on Add to setup the fixed IP-address and network mask. Click Save. It will ask you to setup a new default gateway. In most cases you may click Skip.
Now your fixed IP-address is half way. You have to test this in a new browser window with the fixed IP-address. To test this click on Test Changes and switch to a new browser window. Login at the GUI, switch to Network and click Save Changes. Be aware to do all these actions in the default 60 seconds. Now your NAS has a fixed IP-address. You can reboot and verify the console.
When you setup a fixed IP-address at the beginning of the configuration, you will have no issues later on when you want to install Plex. The Plex install will take over the IP-address of TrueNAS Scale.
Adding Disks, Group, Users, Dataset and Shares to TrueNAS Scale:
Disks:
Click Storage, Create pool. Give it a name and click Next.
At Layout choose Mirror. Width and VDEV’s will be filled in automatically. If you have no optional config click Save and go to Review. At the Review click Create Pool. Confirm and click OK.
In this setup the disks are empty/new. If you want to use disks containing irrelevant data you can wipe the disks first in the Storage menu.
Probably you want to use the NAS with a SMB-user. Before you setup a Dataset with SMB there has to be at least one SMB user. So it’s better to create one SMB user before creating a Dataset.
Group:
My wife and I have different usernames so I prefer to work with a Group. You can assign this Groupname during creating the user. So before creating the user, just create a simple Group.
Click Credentials, Groups, Add. Fill in the Name (eg AllShares) and check SMB Group. Click Save.
Users:
Click Credentials, Users, Add. Fill in the properties.
For testing purposes: Choose for: Create No Primary Group.
Auxiliary Groups: Scroll and select (eg AllShares). Primary Group: choose wheel.
Keep SMB User checked below. Click Save.
Dataset:
Click Datasets, Add Dataset. Give it a name and keep Generic for Dataset Preset.
Click Save
Shares:
Click Shares, Windows SMB Shares, Add. Give the path of the Dataset you just created. Fill in the name of the share and click Save. Click Restart Service. Configure ACL, click No.
When the Share is created click the icon Edit Share ACL.
Who: choose Group. Group: choose (eg AllShares). Permission: choose Full. Type: choose Allowed.
At your Windows machine in Explorer go to \\fixed-ip-address\share-name. Fill in the TrueNAS Scale credentials of the SMB user, ét voila. You have access to your NAS from your Windows machine. Verify your read-write access by creating and deleting a testfile or -folder. From this point you can upload/copy content to your planned Plex media server.
Installing Plex:
Click Apps, Check Available Apps, Show All. Scroll down and click on Plex.
Click Setup Pool to Install. Select the Pool and click Choose. Confirm and click Agree.
Give your Plex a name (all lowercase)
Choose Timezone
Choose which network(s) will due
Leave UserID 568 and GroupID 568 untouched
Check Host Network (otherwise Plex cannot access media files)
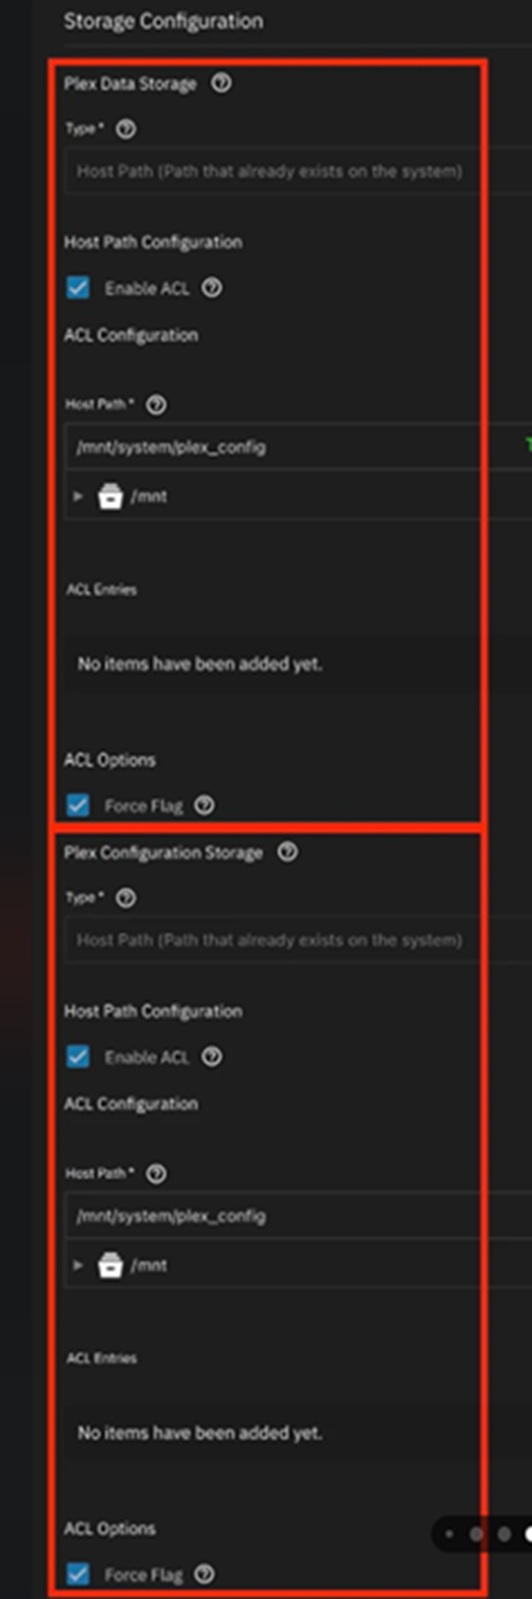
Plex Data Storage – Host Path
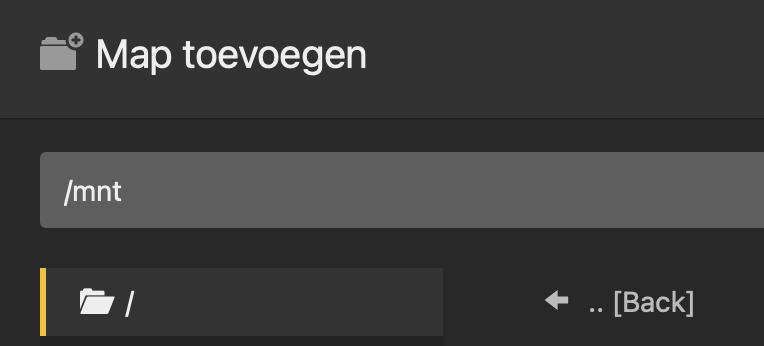
Host Path (path from mnt to the Dataset you created)
Host Path Configuration check Enable ACL. Click Add.
ID Type: Entry is for a USER
ID: 568 (to give Plex access to your Dataset)
Access: Full_ControllAccess (so you can can remove files at the Plex GUI)
ACL Options: check Force Flag (if you already copied some data/movies to the Dataset)
Plex configuration Storage: ixVolume…
ixVolume Configuration: Temporary…
Plex Trancode Storage: Temporary…
Additional Storage: No items…
Click Install (takes a while)
At Applications your will see your Plex App evolving yellow from Deploying to Running green.
Now there come’s a tricky point. I figured out to force a web browser refresh before continuing. Otherwise the Plex Web GUI will call you something like ‘Plex not found…’ Probably this is a bug.
So after the refresh, at the Plex Application Info click on Web GUI. Choose continue with email.
Fill in you Plex email address and password.
Also at this point, probably you need to force a web browser refresh again before you can configure your libraries. Again, I think this is a bug.
Server setup – Fill in the name of your Plexserver. Uncheck using media out of your local network (just for security reasons, and you can setup this later). Click Next.
Add libraries – Movies – Add folders – Browse to Media folder - /data – select folder – Add – Add Library. (repeat if you have or want more media folders)
Click Next, click Ready (yes, you are ready now😉)
On the left of the Plex portal you will see your Plex streaming menu.
Happy Plexing!