
I also set up a pci between 2 network cards, I don’t know if that has anything to do
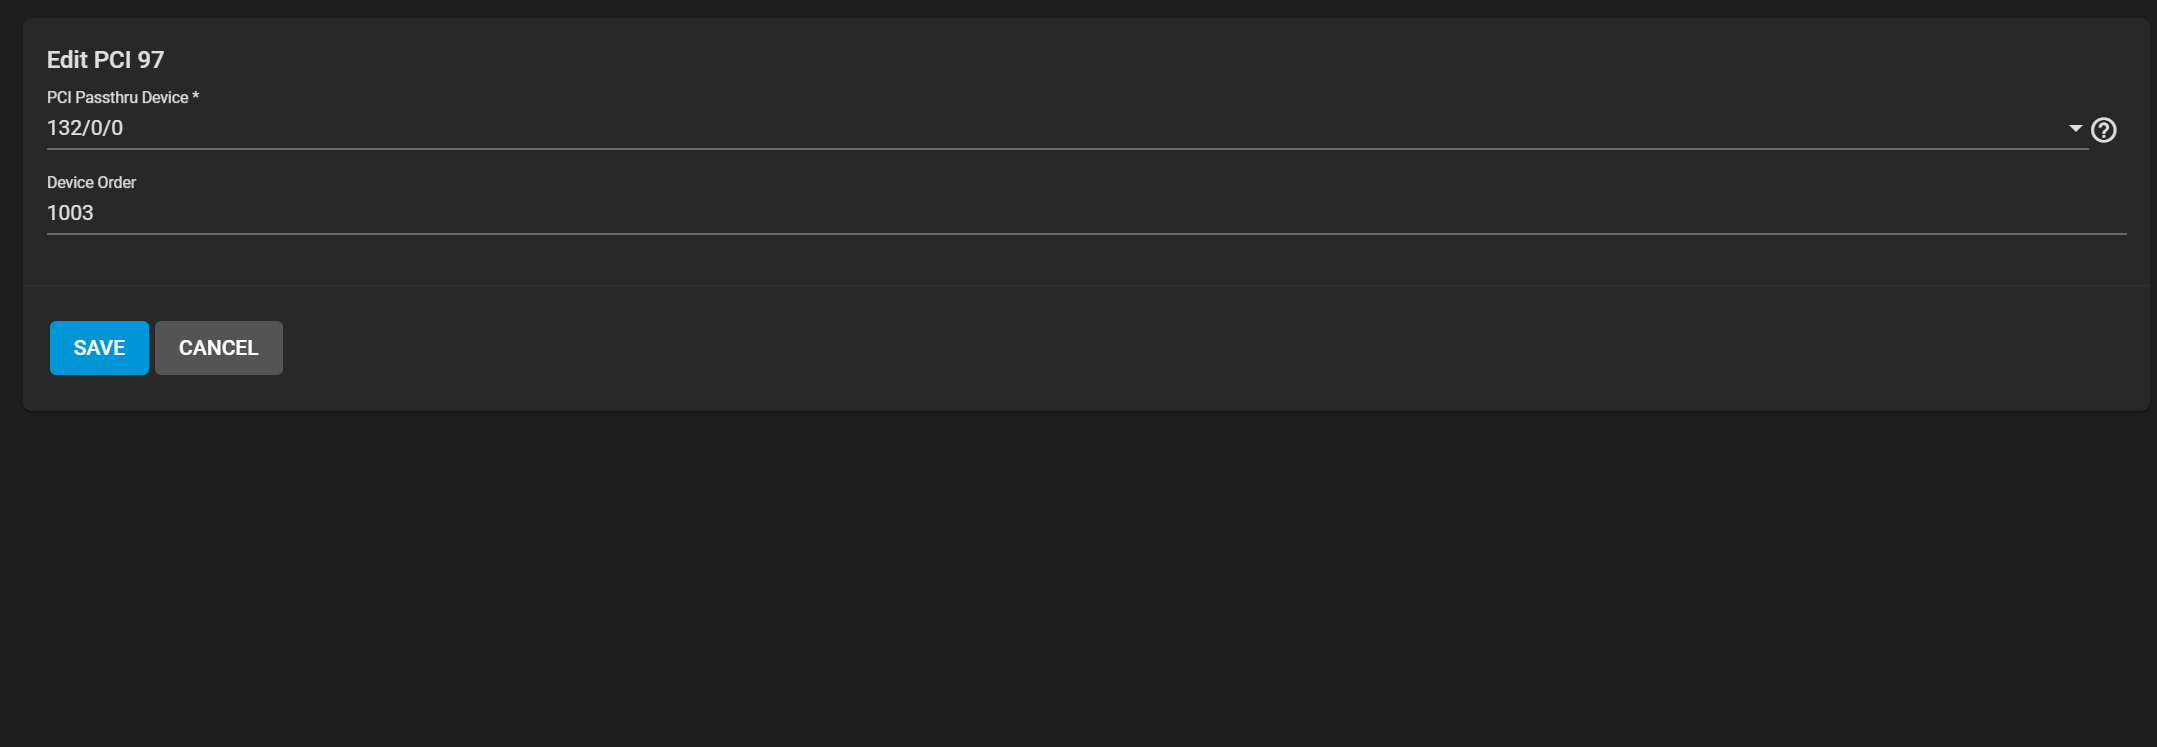
No, not yet. So I’ll just try to repeat the procedure …
/mnt/hdd/iso-images
fetch https://mirror.ams1.nl.leaseweb.net/opnsense/releases/24.1/OPNsense-24.1-serial-amd64.img.bz2
bzip2 -d OPNsense-24.1-serial-amd64.img.bz2
Virtual Machines > Add
Guest OS: FreeBSD
Name: OPNsense
System Clock: UTC
Boot Method: UEFI
Start on Boot
Enable VNC
[NEXT]
CPUs: 1
Cores: 1
Threads: 1
Memory: 2G
[NEXT]
Create new disk image
VirtIO
Zvol location: ssd/vms
Size: 20G
[NEXT]
(Network) Adapter Type: VirtIO
MAC address: keep it
Attach: bridge1
I just click through this wizard only setting the important things - network adapter can be changed after installation just fine
[NEXT]
Choose install media image:
/mnt/hdd/iso-images/OPNsense-24.1-serial-amd64.img
[NEXT]
[SUBMIT]
On the command line in my terminal window:
cu -l /dev/nmdm23B
Power up
So something’s broken. I am running the current BETA. I did install a dozen of VMs using this method in the past, though. Let’s look into it.
That’s my error in the terminal window:
BdsDxe: failed to load Boot0001 "UEFI BHYVE SATA DVD ROM BHYVE-17D8-8647-9400" from PciRoot(0x0)/Pci(0x3,0x0)/Sata(0x0,0xFFFF,0x0): Not Found
BdsDxe: failed to load Boot0002 "UEFI Misc Device" from PciRoot(0x0)/Pci(0x4,0x0): Not Found

>>Start PXE over IPv4.
  PXE-E16: No valid offer received.
BdsDxe: failed to load Boot0003 "UEFI PXEv4 (MAC:00A098137721)" from PciRoot(0x0)/Pci(0x5,0x0)/MAC(00A098137721,0x1)/IPv4(0.0.0.0,0x0,DHCP,0.0.0.0,0.0.0.0,0.0.0.0): Not Found

>>Start PXE over IPv6.
  PXE-E16: No valid offer received.
BdsDxe: failed to load Boot0004 "UEFI PXEv6 (MAC:00A098137721)" from PciRoot(0x0)/Pci(0x5,0x0)/MAC(00A098137721,0x1)/IPv6(0000:0000:0000:0000:0000:0000:0000:0000,0x0,Static,0000:0000:0000:0000:0000:0000:0000:0000,0x40,0000:0000:0000:0000:0000:0000:0000:0000): Not Found
BdsDxe: loading Boot0005 "EFI Internal Shell" from Fv(7CB8BDC9-F8EB-4F34-AAEA-3EE4AF6516A1)/FvFile(7C04A583-9E3E-4F1C-AD65-E05268D0B4D1)
BdsDxe: starting Boot0005 "EFI Internal Shell" from Fv(7CB8BDC9-F8EB-4F34-AAEA-3EE4AF6516A1)/FvFile(7C04A583-9E3E-4F1C-AD65-E05268D0B4D1)
I’ll have to investigate for by BETA version what is going on here. Sorry - we’ll have to pause for the moment.
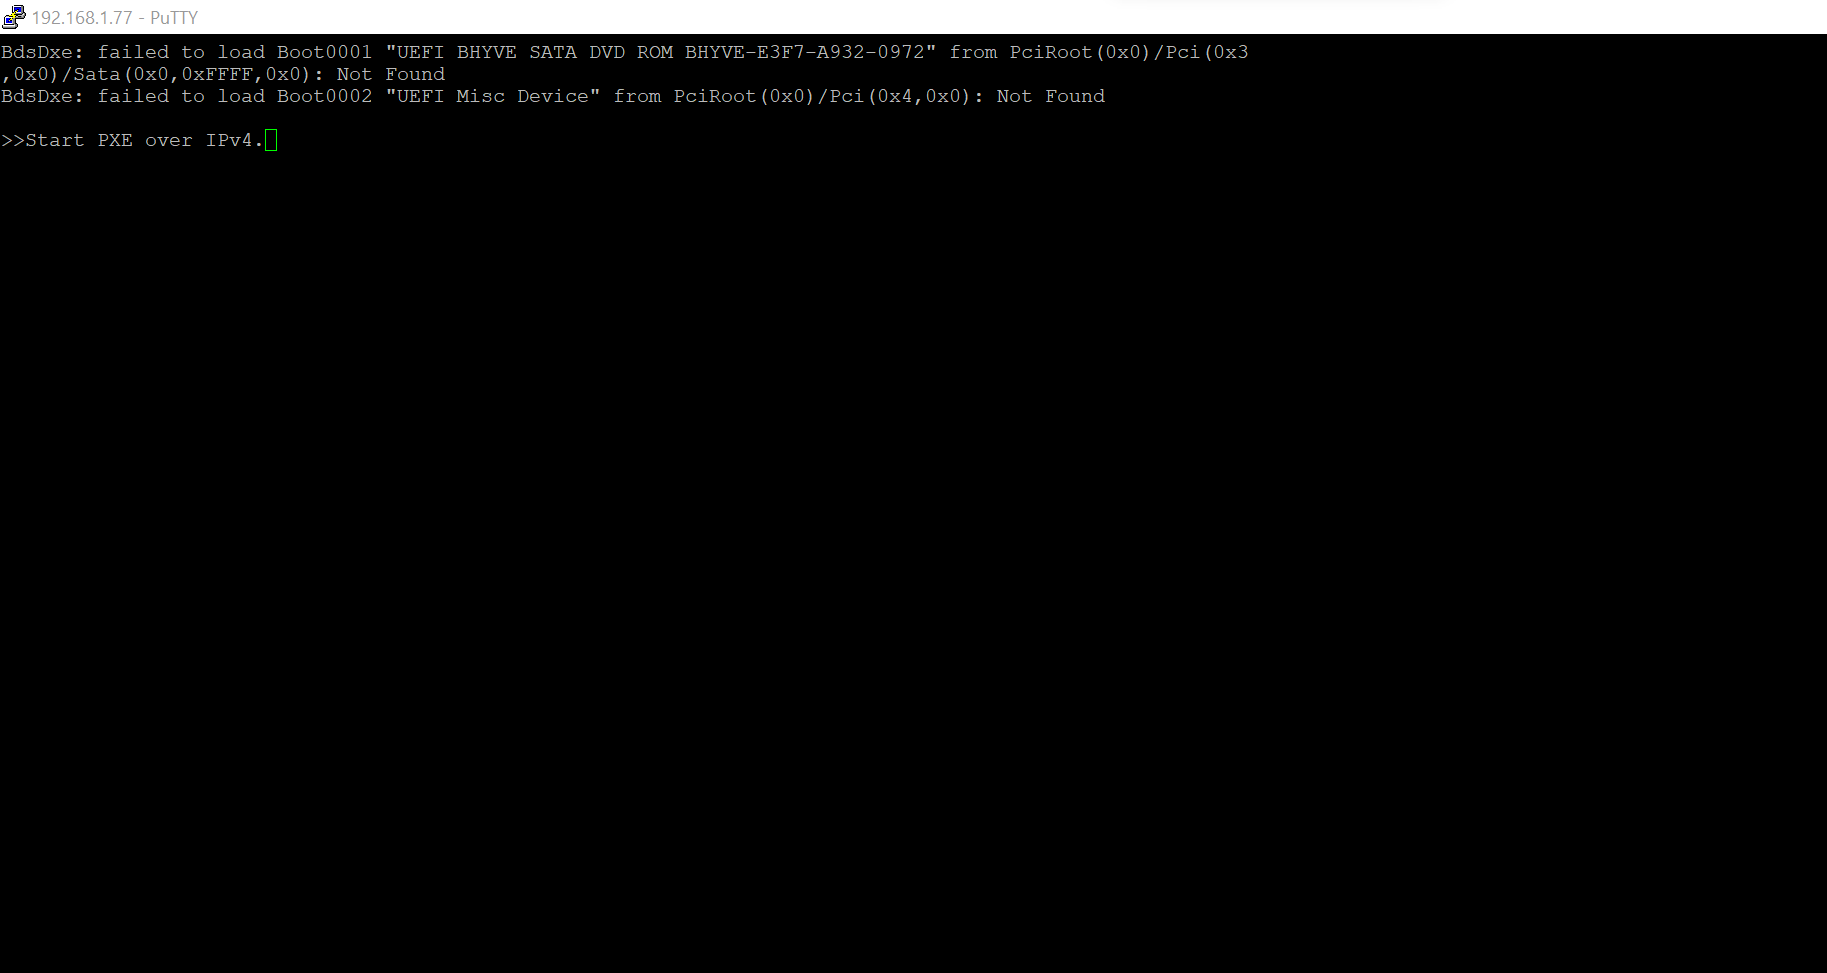
same thing, this goes away by removing nic, making the boot manager come back though. Thank you very much for your help so far. I was thinking that maybe the problem is the that I have truenas CORE and not SCALE, I would be willing to switch, as long as this switch doesn’t cause me to lose the data and configurations of the pool and the various datasets, in a nutshell, I would only do it if the configuration of my current truenas is not touched.
I look forward to hearing from you, I will make a statue of you
I have a perfectly well running OPNsense here on CORE. Don’t know what’s wrong with the VMs in the BETA at the moment.
EDIT: sorry, I’m blind. The download page actually states it quite explicitly. We have been using the wrong image all the time.
Give me a couple of minutes …
So, keep the entire procedure but download, uncompress and configure this image:
https://mirror.ams1.nl.leaseweb.net/opnsense/releases/24.1/OPNsense-24.1-dvd-amd64.iso.bz2
Note that it ends in .iso instead of .img after uncompressing.
When you power up the machine you will be greeted with the boot loader menu - you need to be quick to hit “3” to get at a loader prompt:
-
             ______  _____  _____
            /  __  |/ ___ |/ __  |
            | |  | | |__/ | |  | |___  ___ _ __  ___  ___
            | |  | |  ___/| |  | / __|/ _ \ '_ \/ __|/ _ \
            | |__| | |    | |  | \__ \  __/ | | \__ \  __/
            |_____/|_|    |_| /__|___/\___|_| |_|___/\___|

 ???????????????????????????????????????????     @@@@@@@@@@@@@@@@@@@@@@@@@@@@
 ?                                         ?   @@@@@@@@@@@@@@@@@@@@@@@@@@@@@@
 ?  1. Boot Multi user [Enter]             ?   @@@@@                    @@@@@
 ?  2. Boot Single user                    ?       @@@@@            @@@@@
 ?  3. Escape to loader prompt             ?    @@@@@@@@@@@       @@@@@@@@@@@
 ?  4. Reboot                              ?         \\\\\         /////
 ?  5. Cons: Serial                        ?   ))))))))))))       (((((((((((
 ?                                         ?         /////         \\\\\
 ?  Options:                               ?    @@@@@@@@@@@       @@@@@@@@@@@
 ?  6. Kernel: default/kernel (1 of 1)     ?       @@@@@            @@@@@
 ?  7. Boot Options                        ?   @@@@@                    @@@@@
 ?                                         ?   @@@@@@@@@@@@@@@@@@@@@@@@@@@@@@
 ?                                         ?   @@@@@@@@@@@@@@@@@@@@@@@@@@@@
 ???????????????????????????????????????????
The loader prompt is a simple OK - set the console to the correct value:
OK set console=comconsole
OK boot
Don’t touch, don’t interrupt the boot process, it will eventually come to a menu but unfortunately not to a login prompt because the DVD image uses VGA.
But …
You can open a second putty session and login with installer, password opnsense, to IP address 192.168.1.1.
 OPNsense Installer
 ──────────────────────────────────────────────────────────────────────────────────────────────────────────────────────────────────
                               ┌───────────────────────Keymap Selection──────────────────────────┐
                               │ The system console driver for OPNsense defaults to standard     │
                               │ "US"                                                            │
                               │ keyboard map. Other keymaps can be chosen below.                │
                               │ ┌─────────────────────────────────────────────────────────────┐ │
                               │ │>>> Continue with default keymap                             │ │
                               │ │->- Test default keymap                                      │ │
                               │ │( ) Armenian phonetic layout                                 │ │
                               │ │( ) Belarusian                                               │ │
                               │ │( ) Belgian                                                  │ │
                               │ │( ) Belgian (accent keys)                                    │ │
                               │ │( ) Brazilian (accent keys)                                  │ │
                               │ │( ) Brazilian (without accent keys)                          │ │
                               │ │( ) Bulgarian (BDS)                                          │ │
                               │ │( ) Bulgarian (Phonetic)                                     │ │
                               │ └────↓(+)─────────────────────────────────────────────11%─────┘ │
                               ├─────────────────────────────────────────────────────────────────┤
                               │                   <Select>          <Cancel>                    │
                               └──────────────────[Press arrows, TAB or ENTER]───────────────────┘
Or use the web browser to connect and go to System > Settings > Administration and change the primary console to “serial” - you should then get a login prompt in your first putty session.
Yes, convoluted, sorry - I don’t know why the VNC console is as broken as it is in TrueNAS.
You apologizing to me? is pretty funny…
Don’t worry, it happens to the best of us
I’ll try it right away
And now I remember how I installed with the serial image we tried earlier - and which would give you a way better serial console experience … want to try, if the “dance” with a second putty and possibly messing with your PC’s IP address etc is too much?
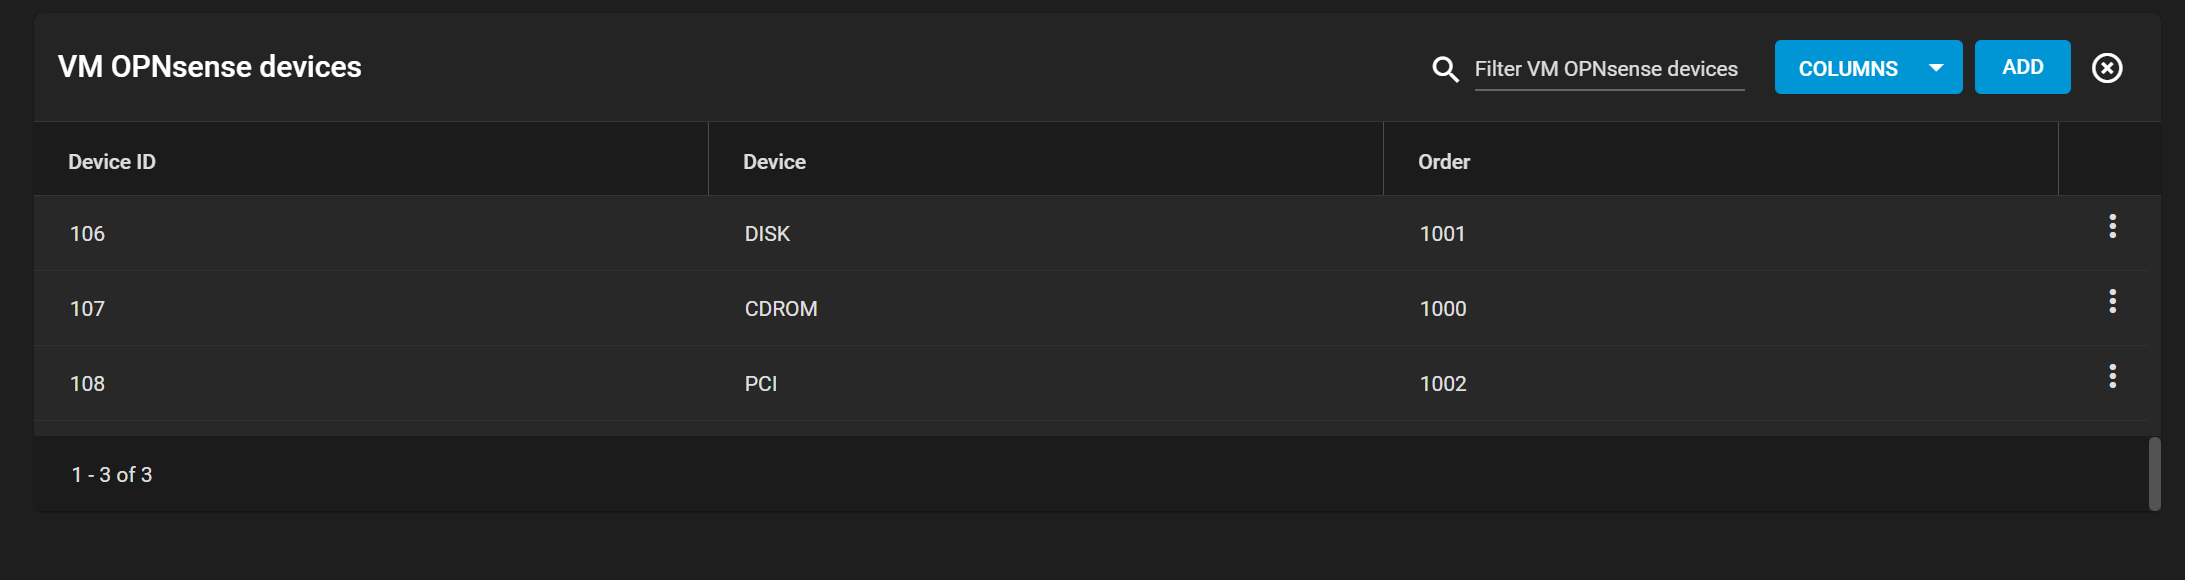
- remove the CD/DVD device
- add a second virtual hard disk device, type VirtIO, size 8 G instead
- Perform
dd if=OPNsense-24.1-serial-amd64.img of=/dev/zvol/<poolname>/path/to/that/second/disk bs=1m
That writes the USB installer image to that second hard disk - a USB thumbdrive is treated almost identical to a disk drive, not like a CD - that’s why everything we tried would not work.
Boot, login, enjoy.
After successful installation to your primary virtual hard disk you need to power down the VM and remove that temporary hard disk device. OPNsense should then boot up.
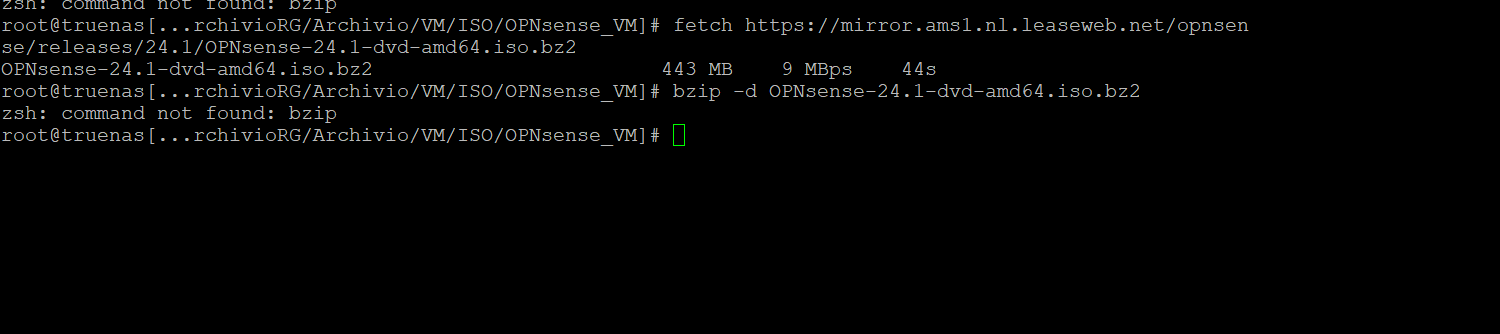
I wrote bzip instead of bzip2 once in my posts.
Hint for a beginning CLI wizard: the TAB key is your friend. Type e.g. bzi <TAB> and watch 
went, thank you very much
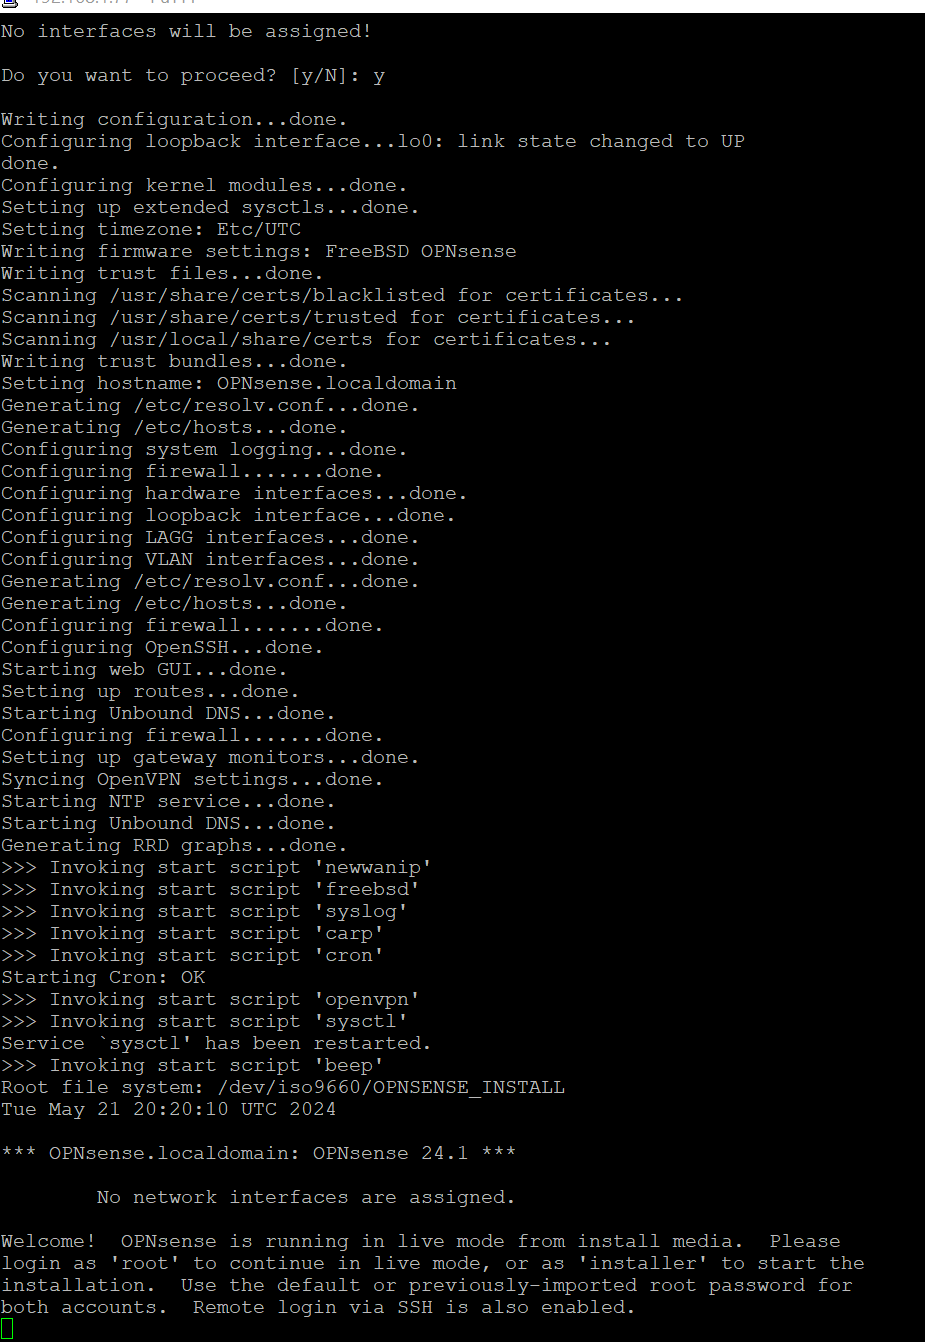
Disconnect the modem for a moment to proceed. You use Windows, right? Open a cmd window, type arp -d -a. Can you now ping 192.168.1.1 with the modem still disconnected?
If yes, use a browser to connect to 192.168.1.1, “root”/“opnsense”, go to System > Settings > Administration and set the primary console to “serial” - a login prompt should appear in your putty session.
Then in the putty session login as user “installer” with password “opnsense” and proceed with the installation.
The DVD image does not spawn a login on the serial console, unfortunately. I’ll see to have that fixed in OPNsense - seriously.
If you get through the installation, shut down the VM, reconnect the modem, do the arp -d -a again and you should be able to report back
If I turn off the modem the ping to 192.168.1.1 does not work.
Turn off the modem and use that arp command? Also is the network interface of your VM connected to your LAN?
If you still have the energy to go through with all of this, I suggest you go back to the serial image and a second hard disk device as I already outlined. This definitely works.
dd if=OPNsense-24.1-serial-amd64.img of=/dev/zvol//path/to/that/second/disk bs=1m
I will. instead of img I put iso right?
dd if=OPNsense-24.1-serial-amd64.img of=/dev/zvol/ArchivioRG/Archivio/VM/OPNsense-hqu8uc bs=1m
Probably
dd if=OPNsense-24.1-dvd-amd64.iso of=/dev/zvol/ArchivioRG/Archivio/VM/OPNsense-hqu8uc bs=1m
this should be the path, now I will try
Not the .iso - the “old” serial .img - that’s the point. The .img files must be presented as a hard disk drive to the VM, the .iso as a CD/DVD.
Ahhhhhhh